Small Space Decor Budget Home Decor
How to Build a Floating Deck: Step-by-Step for DIYers
A step-by-step guide to building a floating deck: planning, site preparation, levelling deck blocks, framing, laying boards and finishing, plus permits and a quick FAQ.
By Admin Published 6 min read

Building a floating deck is one of the most rewarding home improvement projects you can take on. Unlike a traditional deck, a floating deck, also known as a freestanding deck, is not attached to your house. That means no ledger board, no drilling into your home's walls or foundations and, often, fewer permission headaches. Whether you want a cosy spot for outdoor seating or a dedicated space for dining, a floating deck is a practical way to turn an unused corner of the garden into somewhere you actually want to spend time.
Before you start: safety and tools
A floating deck is a manageable DIY job, but treat it like any building project. Wear eye protection when cutting, drilling and screwing, plus gloves and sturdy footwear, and ear protection when using a circular saw for long periods. Before you dig or strip turf, check for buried cables, pipes and drains: look for inspection covers, outdoor sockets and lights, and ask your utility providers for plans if you are unsure. Follow the manufacturer's instructions for every power tool, and get a second person to help lift and square the frame.
Typical tools include a tape measure, string line and pegs, a spade and rake, a long spirit level, a circular or mitre saw, a cordless drill/driver, a speed square and board spacers.
1. Planning
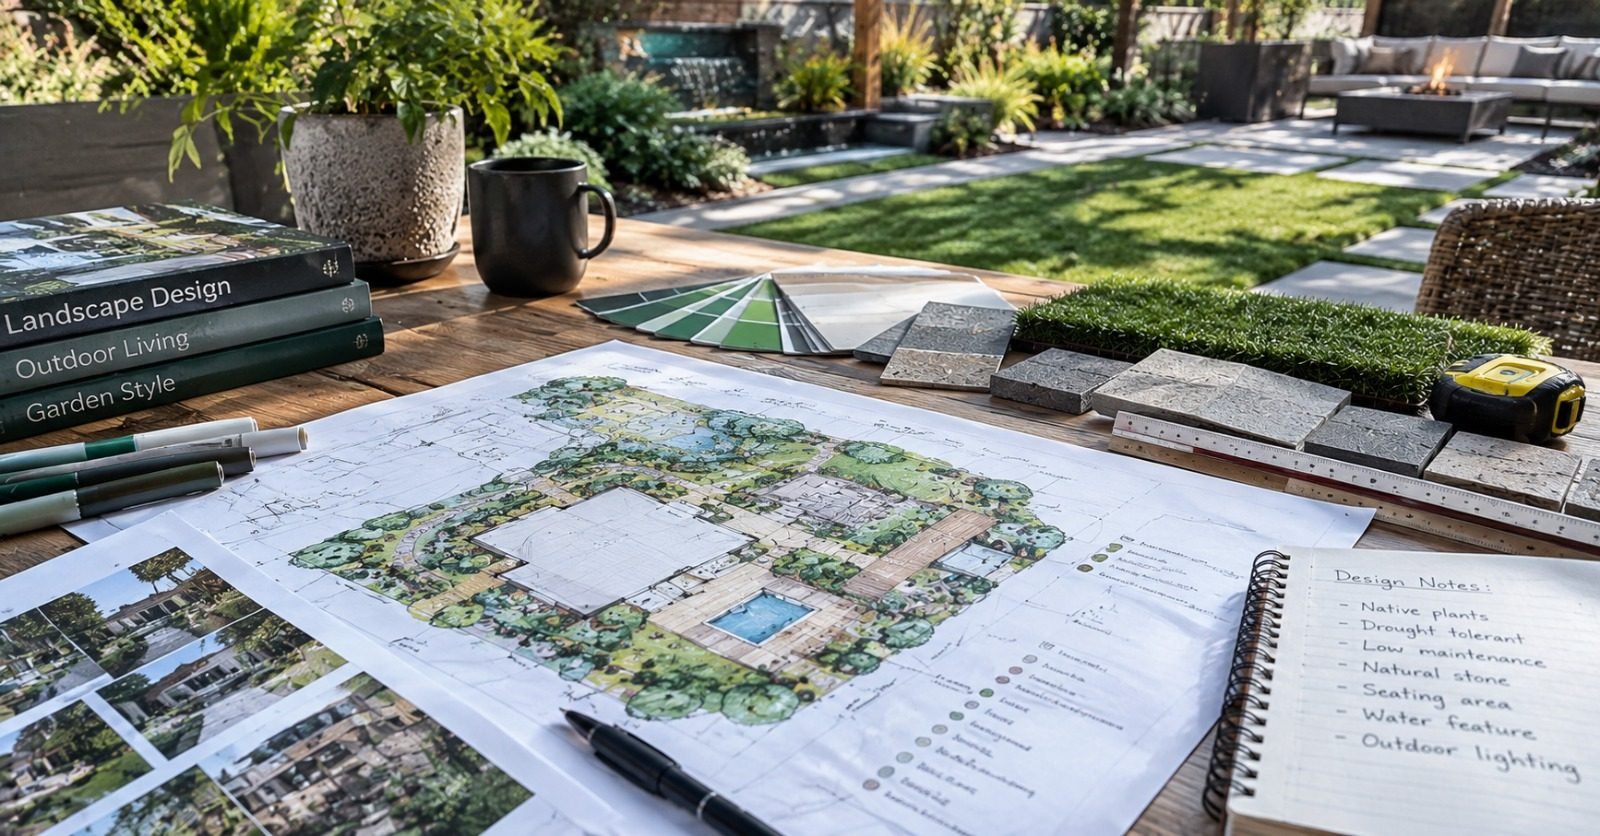
Before you pick up a saw, you need a solid plan. Measure the area where you want the deck to sit and mark it out with pegs and string. Keep the height low: a floating deck should stay close to the ground. Rules vary by location. In England, decking is generally permitted development if it is no more than 30 cm (12 in) above the ground and, together with outbuildings, covers no more than half the garden; many US codes exempt small, low freestanding decks. Flats, listed buildings, conservation areas and raised decks need checking, so confirm with your local planning or building authority. Deciding on the size now also lets you work out exactly how much timber and how many fixings you need.
2. Preparation
Preparation is the secret to a long-lasting deck. Clear away grass and debris from the site. To stop weeds growing up between the boards, lay a heavy-duty weed membrane, then cover it with about 5 cm (2 in) of gravel or crushed stone. This improves drainage and creates a stable, level base for your deck blocks.
3. Foundation
A floating deck relies on deck blocks (sometimes called pier blocks) or adjustable pedestals rather than deep concrete footings. Position the blocks at the corners and at intervals along the perimeter and centre. Use a long level and a straight length of 47 × 100 mm (2×4) timber to check every block is level with its neighbours. If one is too high, dig out a little gravel; if it is too low, add a bit more. A level foundation stops the frame from twisting or bouncing later on.
4. Framing
Build the outer frame from pressure-treated timber rated for ground contact, typically 47 × 150 mm (2×6) or 47 × 200 mm (2×8). Once the outer box is square (check that both diagonals measure the same) and level on the blocks, fit the inner joists. Joists are usually spaced at 300–400 mm (12–16 in) centres; check your decking board manufacturer's guidance, as some boards, especially composites, need closer spacing. Use galvanised or stainless joist hangers and exterior-rated screws or nails. This frame is what carries the weight of your furniture and guests.
5. Decking
Now comes the most satisfying part: laying the boards. Start from one edge of the frame and work across. Use spacers to keep a consistent gap of about 3–6 mm (1/8–1/4 in), following the board manufacturer's recommendation, so water can drain and the timber can move. Fix each board with two screws at every joist. Once all the boards are down, snap a chalk line and trim the ends with a circular saw for a crisp, neat finish.
6. Finishing
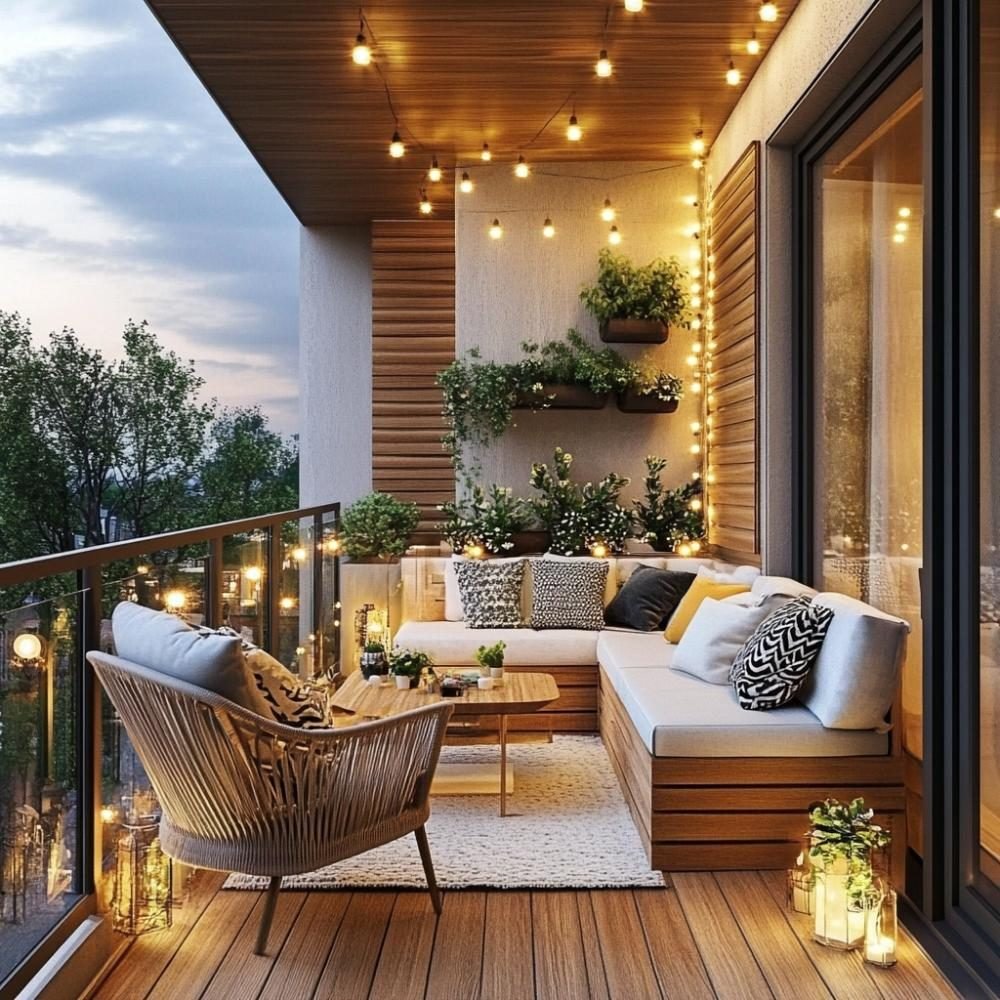
To protect your work from the weather, apply a good-quality exterior stain or sealer, following the product's instructions on drying times and conditions. A finish helps protect against moisture, UV damage and greying. If you used cedar or redwood, a clear or transparent finish shows off the natural grain. For pressure-treated softwood, a semi-transparent or solid stain gives a more uniform look; some treated timber needs to dry out before it will take a finish, so check the supplier's advice. Once the finish is dry, add your furniture and some outdoor lighting.
Tip: Order a few more deck boards than your plan says you need. They cover cutting waste and lets you swap out any boards with splits or large knots without a second trip to the timber merchant.
FAQ
Do I need a permit for a floating deck?
Often not, but it depends on where you live, the deck's height and its size. In England, low decking under 30 cm (12 in) is generally permitted development, and many US jurisdictions exempt freestanding decks under 76 cm (30 in) that are not attached to the house. Always check with your local planning or building department first.
What is the best wood for a floating deck?
Pressure-treated timber rated for ground contact is the usual choice for the frame. For the surface, cedar and redwood offer natural rot resistance and good looks, while composite decking is a lower-maintenance alternative.
How long does it take to build?
For a small deck of around 3 × 3.7 m (10 × 12 ft), a reasonably experienced DIYer with a helper can often finish over a weekend or two, depending on the site and the weather.
Can I build a floating deck on uneven ground?
On gently uneven ground, yes, but you need to level the area where the blocks sit, by digging into high spots or building up low spots with compacted gravel. Adjustable pedestals can also help. A steep slope usually needs a properly anchored deck designed for the site.
How far apart should the deck blocks be?
Block spacing depends on the size of the timber you use for the beams and joists, so check span tables for your timber size and grade. As a rough guide, blocks are commonly placed no more than about 1.2–1.8 m (4–6 ft) apart so the frame does not sag.
Final thoughts
With a level site, good drainage and a square frame, a floating deck is well within reach for a confident DIYer. If you are still deciding whether it suits your garden, read floating deck pros and cons and wood deck pros and cons, or browse wood deck ideas for small gardens. For help styling the finished space, explore our balcony and terrace decoration service or book a consultation.


