The Ultimate Guide to Hanging Heavy Mirrors in Rentals Without Drilling
Six renter-friendly ways to display a heavy mirror without drilling: floor leaners, picture rails, adhesive strips, over-door hooks, furniture support and tension poles.
By Admin Published 8 min read

Living in a rental property often feels like a constant tug-of-war between personalising your space and preserving your deposit. Mirrors are one of the most effective tools in an interior designer’s kit: they bounce light, create the illusion of depth and serve as functional art. However, heavy mirrors present a real challenge: how do you secure a 7, 14 or even 23 kg (15, 30 or 50 lb) object to a wall when your tenancy agreement forbids drilling holes?
The fear of a mirror crashing down in the middle of the night is real, but so is the desire for a sophisticated home. Fortunately, modern adhesives and clever furniture placement offer several workable solutions for anyone searching for a heavy mirror no drill rental answer. This guide explores the most reliable methods for displaying heavy mirrors in a rental without picking up a power drill, and is honest about where each one stops being suitable.
1. Floor leaners
The most straightforward and safest way to bring a heavy mirror into a rental is to bypass wall mounting entirely. Floor-leaning mirrors, often called “leaner mirrors”, are designed to sit on the floor and tilt back against the wall. This method is ideal for full-length mirrors or oversized statement pieces that would otherwise need heavy-duty wall fixings.
To do this safely, consider the floor surface. On wooden or tiled floors, a heavy mirror can slide outwards and fall flat. To prevent this, apply non-slip rubber pads or silicone bumpers to the bottom of the frame. Many renters also add a no-drill furniture strap, which uses strong adhesive on both the back of the mirror and the wall to tether it and reduce the risk of it tipping forward. These straps reduce risk rather than remove it: for very heavy mirrors, or in homes with children, a proper wall fixing installed with your landlord’s written permission is the safest option.
2. Picture rails
If you are lucky enough to live in an older building, or a newer flat with period-style mouldings, you might have picture rails. These are horizontal strips of moulding that run around the upper part of the wall, designed specifically for hanging art without damaging the plaster.
To use them, you need picture rail hooks and hanging wire or decorative chains. The hook sits over the top of the moulding, and the wire runs down to the mirror’s D-rings. Because the weight is carried along the rail rather than by a single point in the plasterboard, this method can support considerable weight, provided the rail itself is sound. Check that it is firmly attached before loading it, as old rails can work loose, and use hooks and wire rated for more than the weight of your mirror, ideally spreading a heavy piece across two hooks. It also adds a sophisticated, gallery-like look to the room.
3. Adhesive strips
For mid-weight mirrors, usually up to around 7–9 kg (15–20 lb), heavy-duty adhesive strips are the go-to solution. Several manufacturers now make interlocking strips that use a hook-and-loop or snap system to lock the frame to the wall.
Success with adhesive strips lies in the preparation. Clean both the wall and the back of the frame with isopropyl alcohol to remove any grease or dust. Weight ratings vary by product, so check the packaging carefully and never exceed the stated limit; stay comfortably below it rather than right at the edge. Spreading several pairs of strips across the frame helps distribute the load, but for genuinely heavy mirrors, do not rely on adhesives alone. Always wait the recommended time after applying the strips to the wall (check the packaging) before hanging the mirror, so the bond can fully set, and test a strip on a hidden spot first to see how your paint reacts when it comes off.
4. Over-the-door hooks
When wall space is limited, or the walls are a difficult material such as brick or crumbly plaster, the door is your best friend. Over-the-door mirror hangers have moved on from the flimsy plastic versions of the past, and you can now find heavy-gauge steel brackets that support substantial weight. Check the rating on the bracket, make sure the door still closes properly, and remember that a very heavy mirror puts extra strain on the hinges.
This method is perfect for bedroom or bathroom mirrors. To stop the mirror banging against the door as it opens and closes, add small adhesive foam pads to the back corners. This creates a snug fit and protects the door’s paintwork.
5. Furniture support
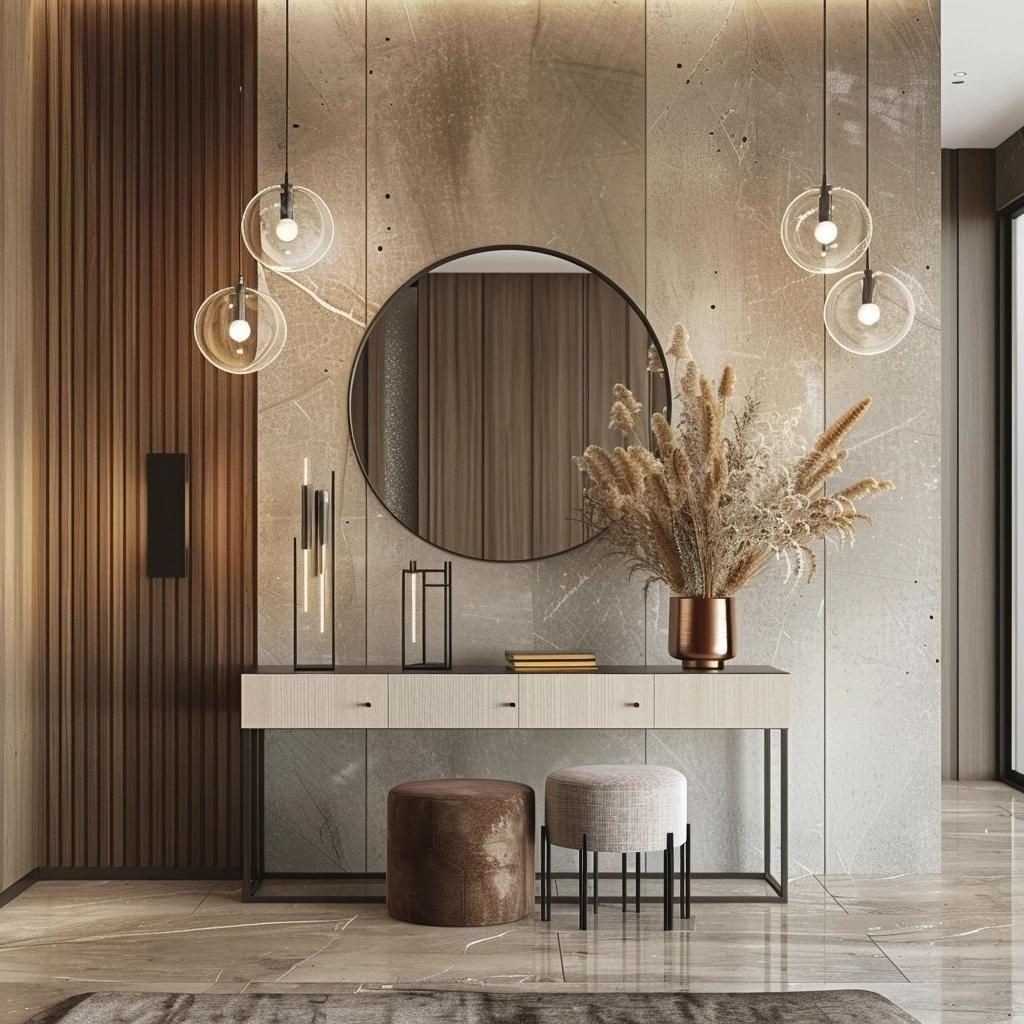
Another clever no-drill tactic is to use existing furniture as a base. Place a heavy mirror on top of a chest of drawers, sideboard or console table and the furniture takes the weight; the wall only acts as a backstop.
To stop the mirror sliding, use museum gel or putty along the bottom edge where it meets the furniture. This clear, removable product grips well and keeps the mirror in place. If you are worried about it tipping forward, an adhesive-based furniture strap can tether the top of the mirror to the wall discreetly, though, as above, it reduces risk rather than eliminating it. Make sure the furniture itself is stable too: if the piece is tall or top-heavy, read our guide to keeping freestanding furniture and shelving from tipping in a rental.
6. Tension rods
Although less common, tension-based systems can work in specific alcoves, niches or bathrooms. Tension poles are wedged between floor and ceiling, or between two narrow walls, and many come with brackets or grooves that can hold shelves or mirrors.
This gives a more industrial look, and it can be very stable when properly fitted, because the force presses against the floor and ceiling rather than relying on a bond with the wall surface. Follow the manufacturer’s load and height limits exactly, use the protective pads, check the pole regularly for movement, and only fit poles against solid, sound ceilings, never fragile or suspended ones. Used well, it is a good way to create a “floating” mirror effect in a loft-style flat or studio.
Safety and surface compatibility
Before choosing a method, look closely at your walls. Adhesives generally perform poorly on heavily textured walls and ceilings (such as Artex or the “popcorn” finishes common in the US) because there is less surface for the adhesive to bond to. Similarly, breathable paints and recently painted walls can cause adhesives to fail or pull the paint off when removed; wait as long as the adhesive maker recommends after painting, which is often several days or more.
For mirrors over about 14 kg (30 lb), leaning or furniture-supported methods are the recommended no-drill choice. Gravity is a constant force, and while adhesives are impressive, they can be affected by humidity and temperature changes over time. In a steamy bathroom or a damp room, adhesive bonds can weaken, which makes a floor-leaning set-up much safer.
The art of removal
The rental-friendly promise only holds if you can remove the fixing without damage. For adhesive strips, follow the manufacturer’s release method, which usually means pulling the tab slowly and parallel to the wall, never towards you. If a strip feels stuck, a hairdryer on a low setting can gently warm the adhesive and soften the bond for a cleaner release. For museum putty or gel, a simple twist-and-lift motion usually breaks the hold without leaving residue. Take photos of the walls when you move in and out, and keep copies of any written permissions from your landlord.
Final thoughts
- Weight is key: always weigh your mirror before choosing a method. Bathroom scales work well: weigh yourself holding the mirror, then subtract your own weight.
- Surface preparation: never skip the alcohol cleaning step for adhesives. It is the difference between a secure mount and a broken mirror.
- Leaning is safest: for truly heavy, oversized mirrors, leaning them on the floor with anti-slip grips is the most secure, damage-free option.
- Respect the ratings: if you use adhesives, stay within the packaging limits and spread the strips out to help manage the centre of gravity.
- Monitor your mount: check your no-drill set-ups every few months. If you see a strip corner peeling or a leaning mirror shifting, fix it straight away.
Frequently asked questions
Can adhesive strips really hold a heavy mirror?
Only up to their rated limit, and ratings vary by product, so check the packaging and never exceed it. Strips must go on a flat, clean, sound surface. For genuinely heavy mirrors, adhesives should not be the only support; lean the mirror on the floor or rest it on furniture instead.
Will leaning a heavy mirror damage my floor?
It can if the mirror is very heavy and has sharp edges. Use felt pads or rubber bumper feet on the bottom of the frame to spread the weight and prevent scratches on wooden floors or dents in carpet.
How do I stop a leaning mirror from sliding?
Use a grip material. Silicone pads or a small strip of rug underlay placed under the contact points create enough friction to stop the base kicking out.
Are there no-drill hooks for brick walls?
Brick clamps are an option for exposed brick. They clip onto the edges of individual bricks using tension, so they don’t need drilling, but they do need the brick to have a slight lip or recessed mortar to grip. Check the clamp’s weight rating and keep heavy mirrors to the floor-leaning or furniture methods.
What if my walls are plaster instead of plasterboard?
Adhesives can be tricky on old plaster, which may crumble, or where the paint may flake off under tension. For plaster walls in rentals, leaning the mirror on the floor or using an existing picture rail is almost always the better choice.
If you are also adding bookcases or shelving, read our guide to anti-tip safety for freestanding shelving in rentals. For awkward windows, see curtains for awkward and bay windows, and for pieces that travel well from home to home, read about decor that moves well between apartments. Explore our wall decor and wallpaper service, or book a consultation to plan your walls with a designer.


