Budget Home Decor Luxury Home Decor
How to Build a Paver Driveway: Step-by-Step for DIYers
A step-by-step guide to building a paver driveway: planning and permissions, excavation, sub-base, bedding sand, laying, cutting, edging, jointing and sealing.
By Admin Published 9 min read

A paver driveway is more than a place to park; it is one of the biggest visual upgrades you can make to the front of your home. Because pavers form a flexible, interlocking surface, they cope with small ground movements better than a continuous slab, and they come in a wide range of stone, brick and concrete finishes. Building one, though, is labour-intensive. It takes precision, physical stamina and a good understanding of site preparation.
Be honest with yourself before you start: a large driveway is a heavy job, involving tonnes of spoil and stone and hired machinery. Many DIYers lay the pavers themselves but bring in a professional for the excavation and sub-base. This guide walks through every stage so you can decide which parts you want to tackle.
Before you start: safety
- Check for services before you dig. In the US, call 811 to have underground lines marked. In the UK, get utility plans, use a cable avoidance tool or ask the utility companies, and look for inspection covers, meter boxes and drain runs.
- Protect yourself. Wear gloves, safety boots, eye and ear protection. Cutting pavers releases silica dust, so use a wet saw and wear a suitable respirator as well as goggles and ear defenders.
- Hire machinery sensibly. For mini-diggers, rollers and plate compactors, either hire with an operator or follow the hire company's safety guidance and training.
- Lift safely. Pavers and stone are heavy. Use a wheelbarrow, share the load and take breaks.
1. Planning
Before a single spadeful of soil is moved, you need a clear plan, starting with permissions. In England, a new or replacement hard surface over 5 m² in a front garden generally needs planning permission unless it is permeable or drains to a permeable area, such as a lawn or border; permeable block paving and gravel usually qualify. A new dropped kerb to get a car onto the drive needs permission from the council. In the US, check local permits and any HOA rules. Wherever you live, check with your local authority before you start.
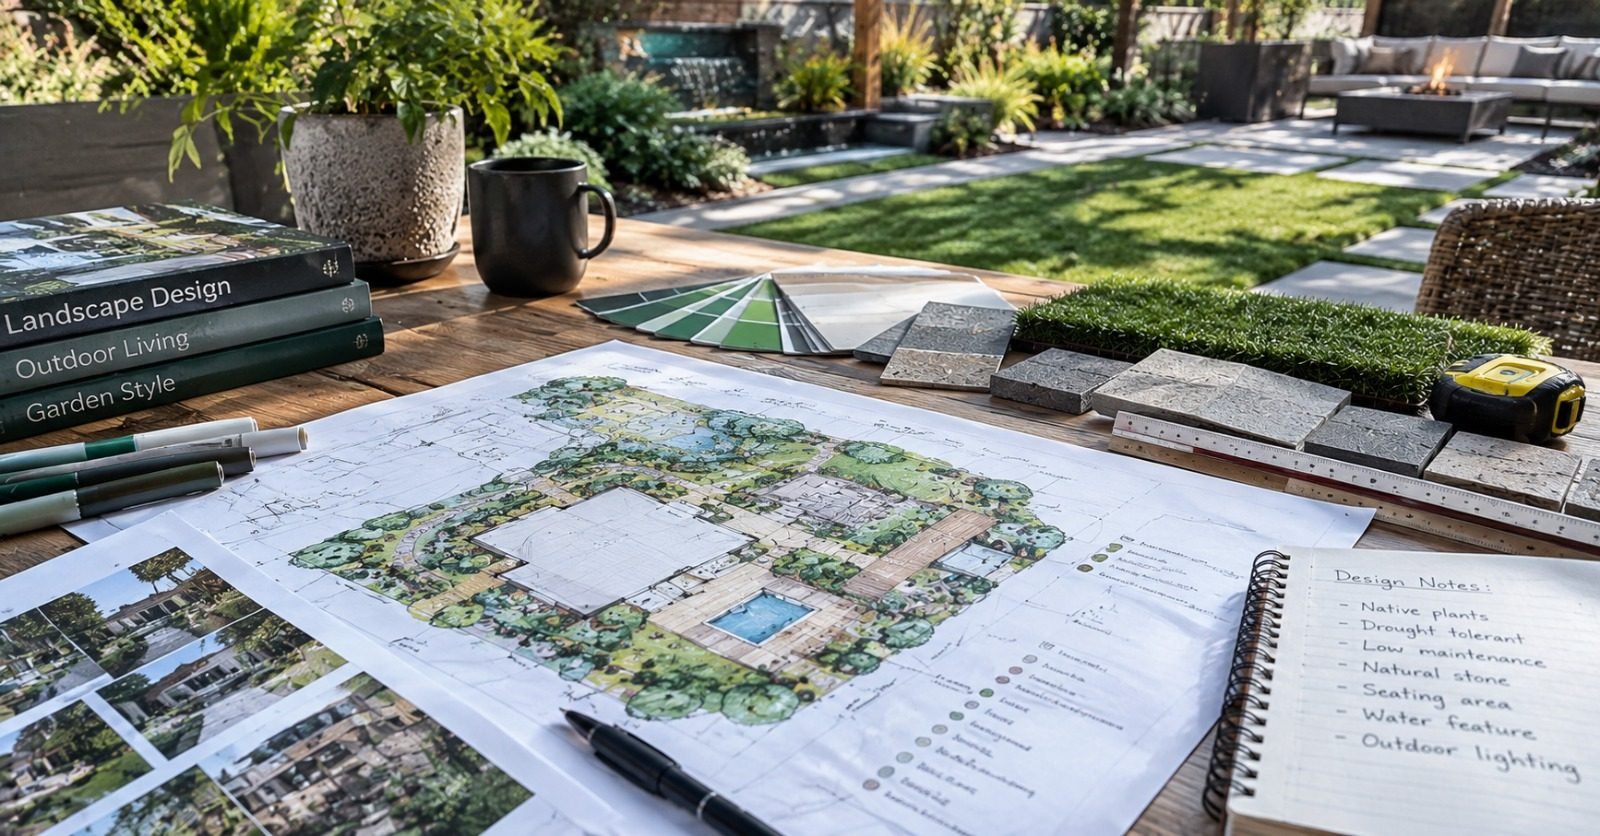
Then work out the layout. Measure the area accurately so you can order materials. Allow enough width to open car doors and walk past the car; many single driveways are around 3 m (10 ft) wide, with double driveways considerably wider. Drainage is the most important technical part of the plan: the surface needs a gentle fall away from the house and other buildings so rainwater never runs towards walls or doors. If you are using a professional for the groundwork, the installer will set the fall for your site.
2. Preparation
Once you have a design, mark out the perimeter with wooden pegs and a bright string line. For curves, lay a garden hose to the shape you want, then mark it with line-marking paint.
Next, gather materials and equipment:
- Pavers rated for driveways. Patio slabs and thin pavers are not suitable for cars. Blocks made for driveways are typically thicker, often 60 mm (about 2⅜ in) or more for cars; check the manufacturer's rating for vehicular use.
- Sub-base aggregate. A well-graded crushed stone (often called MOT Type 1 in the UK) that compacts firmly.
- Bedding sand. Sharp or grit sand, as your paver supplier recommends.
- Jointing sand. Kiln-dried sand or polymeric sand.
- Edge restraints. Concrete kerbs or a purpose-made edging system.
- Equipment. A plate compactor (ideally with a rubber pad for compacting the pavers), a wet saw or block splitter, a long spirit level or laser level, screed rails and a straight board, a rubber mallet, shovels, rakes and a wheelbarrow.
3. Excavation
Excavation is the most physically demanding stage. You are not just digging deep enough for the pavers; you are creating a foundation for the whole surface. The total depth is the sub-base plus the bedding layer plus the paver thickness. For cars, a compacted sub-base is commonly around 150–200 mm (6–8 in), plus bedding sand of around 25–50 mm (1–2 in). Clay or soft ground usually needs a deeper base, and your installer or an engineer will set the depth for your soil and the vehicles that will use it.
Remove all organic material, including turf, roots and topsoil. Dig out any soft spots and refill them with compacted sub-base material. On heavy clay, consider laying a geotextile membrane across the bottom of the excavation; it helps stop the sub-base pushing into the soft ground while still letting water through.
4. Sub-base
The sub-base is the structural heart of your driveway. Without a properly compacted base, the surface will eventually develop ruts and dips that hold water. Spread the aggregate in thin layers rather than all at once, and compact each layer thoroughly with the plate compactor, making several passes in different directions before adding the next.
As you build up the base, keep checking the levels and fall with a string line, a long straightedge and a spirit level, or a laser level. The finished sub-base should follow the final shape and fall of the driveway. A common mistake is expecting the sand layer to correct uneven levels. It cannot: the bedding layer should be an even thickness, so the sub-base has to be accurate.
5. Bedding layer
The bedding layer is the cushion the pavers sit in. To get an even depth, use the screeding method: lay two straight pipes or screed rails on the compacted base, fill between them with sand, then pull a straight timber board across the rails to level the sand. Remove the rails and fill the grooves they leave carefully.
Once an area is screeded, do not walk on it; if you do, re-level it. Only screed as much as you can lay in one session. If rain soaks an open sand bed, it may need to dry out or be replaced before you can lay on it.
6. Laying
Start laying at a straight, fixed edge, such as a garage threshold or an existing kerb, usually working from the lowest point upwards. Work outwards from the laid area, kneeling on the pavers you have already placed rather than on the sand. Place each paver straight down into position; do not slide it, as this disturbs the bedding.
Lay pavers snugly according to the manufacturer's guidance; many blocks have built-in spacer nibs that set the joint width. Use string lines every metre or so to keep the rows straight. If one paver sits slightly high, tap it gently with a rubber mallet, but do not over-adjust, as final compaction will even out small differences. Take blocks from several packs as you go so the colour blends evenly across the drive.
7. Cutting
At edges, curves and around drains you will need to cut pavers to fit. Mark each one in position with a wax crayon or chalk for an exact fit. A wet saw gives clean, precise cuts and uses water to keep down the hazardous silica dust. Always wear goggles, ear protection and a suitable respirator when cutting masonry, and follow the saw's safety instructions. For curves, a series of small straight cuts gives a much neater line than leaving wide gaps. Avoid very small slivers at edges, as they can work loose; adjust the layout so cut pieces are a reasonable size.
8. Edging
Without a firm perimeter, the weight of vehicles will push the pavers outwards over time, opening up the joints. Edge restraints are essential. Common options are concrete kerbs or edge blocks set on a concrete bed and haunched with concrete behind, or a purpose-made plastic or aluminium edging system.
Fit the edging tight against the pavers and secure it exactly as the edging manufacturer specifies, including fixing type and spacing. Edging set slightly below the paver surface can be hidden by soil or planting later.
9. Jointing
With all the pavers laid and the edges secure, it is time to lock everything together. Sweep dry jointing sand across the surface, working it into every joint. Then run the plate compactor over the pavers, ideally with a rubber mat or pad fitted to protect their faces. This vibrates the sand into the joints and beds the pavers into the sand below. Sweep in more sand and repeat until the joints stay full.
If you use polymeric sand, follow the product's instructions to the letter: it usually needs a dry weather window before and after application, the surface must be completely clear of loose sand before you activate it with water, and there will be a waiting period before you walk or drive on it.
10. Sealing
Sealing is optional, but a good sealer can help protect pavers from oil stains, tyre marks and fading, and can help stabilise the joint sand.
Patience matters here. Wait as long as the paving manufacturer advises, which is often several weeks, before sealing. This gives efflorescence, a natural white, powdery deposit that can appear on new concrete products, time to come out. If you seal too early, you can trap it under the sealer. When the time comes, clean the pavers thoroughly, let them dry fully and apply the sealer according to the manufacturer's instructions.
Tip: Order a few more pavers than your plan says and store the extras somewhere dry. They cover cutting waste and give you colour-matched spares for any future repairs.
FAQ
Can I drive on the pavers straight after installation?
With kiln-dried jointing sand, the surface can usually take traffic once compaction and jointing are finished, but check your installer's or supplier's advice. With polymeric sand, wait as long as the product instructions say before driving on it.
Can I lay a paver driveway on top of my old concrete or tarmac?
Sometimes, but it depends on the condition of the existing surface, the levels at your doors and damp-proof course, and drainage. Raising the ground level against the house can cause damp problems, so ask an experienced installer to assess it first.
How long does it take to build a paver driveway?
It depends on the size, the access, your soil, the weather and how much help you have. Even a modest driveway usually takes a DIYer several weekends, and the excavation and sub-base often take longer than the laying.
Do I need a plate compactor?
Yes. Compaction of the sub-base and the finished paving cannot be done properly by hand on a driveway. Hire one and follow the hire company's safety guidance.
Final thoughts
A paver driveway is a challenging but rewarding project, and the secret is never cutting corners on the excavation, sub-base and compaction. If you are still deciding whether block paving suits your home, read paver driveway pros and cons and common concrete driveway mistakes, or compare budgets with what drives gravel driveway cost. For help designing a front garden that works with your new driveway, explore our balcony and terrace decoration service or book a consultation.


