Budget Home Decor Luxury Home Decor
How to Build Stone Edging: Step-by-Step for DIYers
How to build natural stone edging: choosing granite, sandstone, flagstone or fieldstone, laying it flat, on edge or dry-stacked, fitting irregular stones and lifting safely.
By Admin Published 9 min read

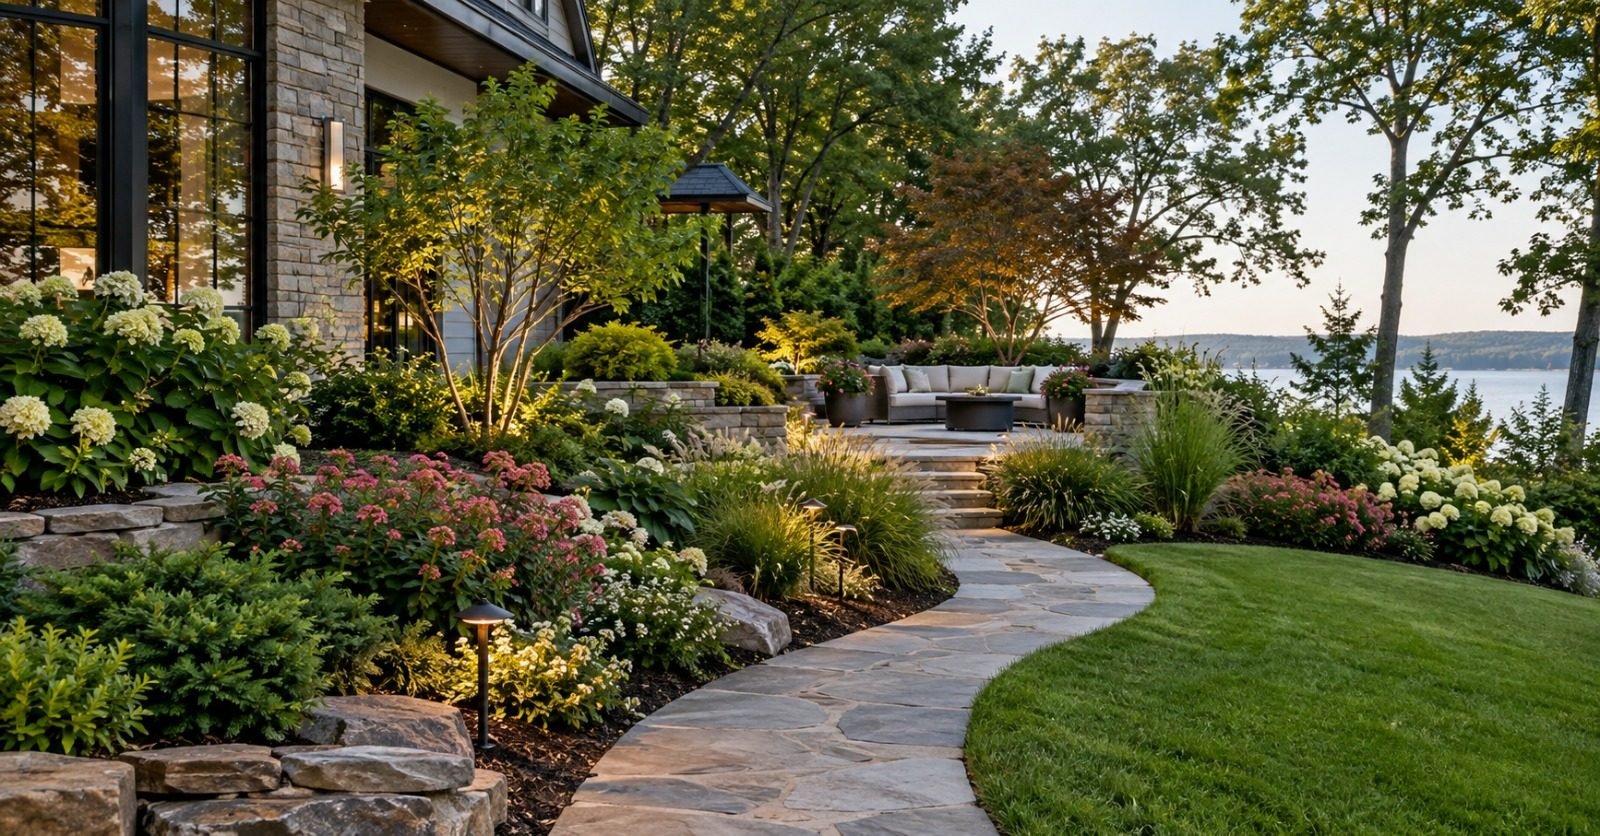
Planting and lawn give a garden its colour, but the edges give it shape. A border of natural stone draws a clear line between grass and beds, slows creeping grass and keeps mulch where it belongs. Unlike thin plastic strips, stone has real weight and texture, and it weathers gradually, so it tends to look better as it settles into the garden.
Stone is also the most hands-on edging material. No two pieces are quite the same, many are heavy, and the skill lies in choosing, fitting and bedding each one so the run reads as a single line. This guide concentrates on what is particular to natural stone. The groundwork (marking out, trenching and the compacted base) is shared with block edging, so it is covered briefly here; for full detail, see our guide on how to build paver edging.
Before you start: safety
- Check for buried services. Garden lighting cables and irrigation pipes often run just below the surface. In the UK, check any utility plans, use a cable avoidance tool or ask the utility companies; in the US, call 811 before you dig.
- Handle stone with care. Wear sturdy gloves and safety boots with toe protection. Lift with your legs, keeping your back straight and the stone close to your body, and share anything awkward or heavy as a two-person lift. Move stones with a sack truck or wheelbarrow rather than carrying them across the garden, and never try to catch a stone that is falling.
- Cut and dress stone safely. Cutting or chiselling stone releases silica dust and sharp chips. Cut wet wherever possible, wear eye and ear protection and a suitable respirator (a basic dust mask is not enough), and keep children and pets well away.
1. Choose the right stone
The stone you choose decides both the look and how much work the edge will need later. The main options are:
- Granite setts: small, roughly cubic blocks with a dense, hard surface. They give a neat, formal line and cope well with mowers and foot traffic.
- Sandstone and limestone blocks: warm in colour and easy to work, but softer and more porous. Some soft stones can flake or crumble in frost, so ask your supplier whether the particular stone is suitable for use at ground level in your climate.
- Flagstone: flat, thinner slabs, ideal laid flat as a mowing strip or stood on edge for a slim border.
- Fieldstone and rubble: irregular, naturally rounded or broken stone that suits cottage and wildlife gardens. It takes more fitting, but each piece adds character.
- Boulders: occasional large stones used as accents at corners or bed ends rather than as a continuous edge. These need a proper bed and, often, more than one pair of hands.
As a rule, harder, denser stone wears better along a lawn edge, while softer stone suits sheltered beds where it will not be scuffed by mower wheels. Stone quarried locally often looks most at home, because it matches the walls, paths and soil around you. Buy a few extra pieces so you have a choice when fitting.
2. Decide how the stone will sit
Natural stone edging is usually built in one of three ways:
- Laid flat as a mowing strip. Flat stones are bedded flush with the lawn, or a fraction above it, so the mower wheels can run along them. This cuts down on trimming and suits flagstone, setts and flat-topped blocks.
- Set on edge. Thinner slabs or long blocks are stood upright, with part of their height buried, to make a low upstand that holds mulch and soil in the bed. Bury enough of each stone that it cannot be pushed over easily.
- Dry-stacked as a low wall. Two or three courses of stone are stacked without mortar to form a raised edge. Keep it low and stable: use the largest, flattest stones at the bottom, lean each course back slightly into the bed, and overlap the joints. Anything that retains soil above roughly knee height needs proper design, so ask a qualified builder or engineer rather than stacking it higher yourself.
3. Mark out and dig
Mark the line with a hose or rope for curves, or pegs and a string line for straight runs, then trace it with line-marking paint. Dig the trench with a sharp spade or half-moon edging iron, a little wider than your stones so there is room to adjust them.
The depth is the base, plus a bedding layer, plus the part of the stone you want buried. The base is commonly around 50–75 mm (2–3 in) of compacted crushed stone with about 25 mm (1 in) of sharp sand on top, going deeper on clay or where people walk. For example, a stone roughly 100 mm (4 in) deep set flush as a mowing strip would need a trench of about 175–200 mm (7–8 in). Stones set on edge need more depth, because more of each stone is buried. Because natural stones vary, sort them by thickness before you dig and adjust the bedding layer locally rather than digging to a single fixed figure.
4. Lay and compact the base
Lay the crushed stone in thin layers and compact each one with a hand tamper or hired plate compactor until it no longer moves underfoot. A firm, free-draining base is what stops heavy stones sinking or rocking after a wet winter or frost. Then spread the sand bedding layer, which lets you seat each irregular stone at the right height.
5. Fit the stones
This is where stone edging differs most from blocks. Start at the most visible end or at a corner, and lay out a few metres of stones loosely beside the trench before you set any. Turn and swap them until the edges meet neatly, like fitting puzzle pieces. Look for a stone whose edge mirrors its neighbour's, and keep the best flat face on top.
Seat each stone into the sand and tap it down with a rubber mallet, checking it against your string line and with a spirit level. Aim for a consistent top line rather than identical stones: the eye reads the run as tidy if the tops flow smoothly, even when the shapes vary. If a stone sits low, lift it and add sand beneath; if it is high, scrape some out.
When a stone nearly fits, you can dress it. Mark the line to remove, set a bolster chisel on it and strike firmly with a club hammer, working along the line rather than trying to break it off in one blow. Knock off small high spots the same way. For a crisp, straight cut, use a wet masonry saw or angle grinder with a diamond blade and water suppression, following the tool's safety instructions and wearing the protection described above.
Tip: Set the heaviest stones first, while you are fresh, and place them at corners and bed ends where they anchor the run. The lighter pieces between them are much easier to fit around fixed points.
6. Haunch larger stones where needed
Most stone edging relies on its own weight and firm backfill. Tall stones set on edge, stones along a path that people step on, or edging on soft ground may need extra support. Here, bed the stones on a lean concrete mix and haunch the back of each one with a sloping bead of concrete, keeping it below soil level so it is hidden. Ask your stone supplier whether it suits your stone, and follow the mix instructions on the bag. Mortar is not usually needed between the stones of a simple garden edge; dry joints allow drainage and are easier to repair.
7. Fill the joints and backfill
Brush fine sand or crushed stone dust into the gaps between the stones so they lock against one another. Polymeric sand is another option for tighter joints; use it only as the bag directs, including the dry weather it needs, and brush every trace off the stone faces before wetting, as residue can mark porous stone.
Then backfill. On the lawn side, pack soil firmly against the stones and relay the turf; on the bed side, bring soil and mulch up to just below the top. Firm both sides with your heel so the stones are wedged in place, then water to settle everything and top up any spots that sink.
8. Aftercare
Stones may settle unevenly in the first year or after a hard winter. Lift any that tilt, add a little sand and reseat them. Trim back grass that creeps over the edge once or twice a season. Moss and lichen often colonise sandstone and limestone; many people enjoy the aged look. If you want to clean it, a stiff brush and water is the safest start. A pressure washer can damage soft stone and wash out joints, so avoid it on sandstone and limestone; on harder stone, use only a low setting and a fan nozzle, following the stone supplier's guidance. For a season-by-season routine, see our guide to stone edging maintenance by season.
FAQ
What is the best natural stone for garden edging?
It depends on the job. Hard, dense stone such as granite suits mowing strips and busy edges, flagstone works laid flat or on edge, and fieldstone suits informal planting. Softer sandstone and limestone look lovely but are better in sheltered spots; check with your supplier that the stone is frost resistant.
Do I need mortar for stone edging?
Usually not. Stones bedded on a compacted base with firm backfill stay put, and dry joints let water drain. Haunching tall or heavily used stones in concrete adds support without mortaring the joints.
How high can I dry-stack a stone edge?
Keep dry-stacked edging low, a few courses at most, with each course stepped back slightly into the bed. Anything retaining soil above roughly knee height needs proper design by a qualified builder or engineer.
How do I move very heavy stones on my own?
Ideally, you do not. Use a sack truck or wheelbarrow, roll or walk large stones along planks rather than lifting them, and get a second person for anything you cannot lift comfortably with bent knees and a straight back. Very large boulders are best placed by a contractor.
Can I build stone edging on a slope?
Yes. Step the stones down in short level sections rather than following the slope diagonally, so each stone sits flat and cannot creep downhill.
Final thoughts
A natural stone edge rewards patience: choosing the right stone, fitting each piece carefully and bedding it firmly is what keeps the line crisp through the seasons. For the shared groundwork in more detail, read how to build paver edging; to compare stone with metal, timber and plastic, see how to build landscape edging; and to keep your new border looking its best, follow our stone edging maintenance by season guide. For help designing a garden where borders, paths and planting work together, explore our balcony and terrace decoration service or book a consultation.


