Small Space Decor Budget Home Decor
How to Build Landscape Edging: Step-by-Step for DIYers
A step-by-step guide to installing landscape edging: plan the line, dig the trench, fit metal, plastic, timber, stone or brick edging, then backfill and mulch.
By Admin Published 9 min read

Landscape edging is the unsung hero of a tidy garden. It draws a crisp line between lawn and border, stops grass creeping into your flower beds and keeps mulch or gravel from washing out in a heavy downpour. For a DIYer, it is one of the most affordable ways to make a garden look finished and professionally designed.
Whether you prefer the rustic charm of timber, the sleek look of steel or the classic feel of natural stone, the groundwork is much the same: plan the line, dig a clean trench, fit the edging and backfill it firmly. This guide walks through those shared steps, then explains how to install each common type of edging. If you are still deciding which material suits your garden, read our guide to landscape edging pros and cons first.
Before you start: safety
- Check for buried services. Before you dig, find out where cables and pipes run, including garden lighting cables, irrigation lines and outdoor power supplies. In the UK, check any utility plans you have, use a cable avoidance tool or ask the utility companies; in the US, call 811 to have underground lines marked.
- Wear gloves and sturdy boots. Edging work involves sharp spades, stakes and rough materials.
- Choose metal edging with a safe top. Pick a product with a rolled or capped top edge, set it so the edge is not exposed at foot height, and keep it away from areas where children, pets or bare feet are likely.
- Cut masonry carefully. Cutting stone or brick releases silica dust. Use wet cutting, wear eye and ear protection and a suitable respirator, and follow the tool's safety instructions.
1. Plan the line
The first step in any edging project is deciding on the shape. Lay a garden hose or a long rope on the lawn and experiment with different curves. Avoid tight angles that are awkward to mow around; long, sweeping curves usually look more natural and are much easier to maintain. For straight edges, use pegs and a string line.
When you are happy with the shape, trace it onto the grass with line-marking paint so you have a clear guide for digging. Then step back and look at the layout from the patio and from the windows you look out of most. A line that looks right at ground level can feel awkward from upstairs.
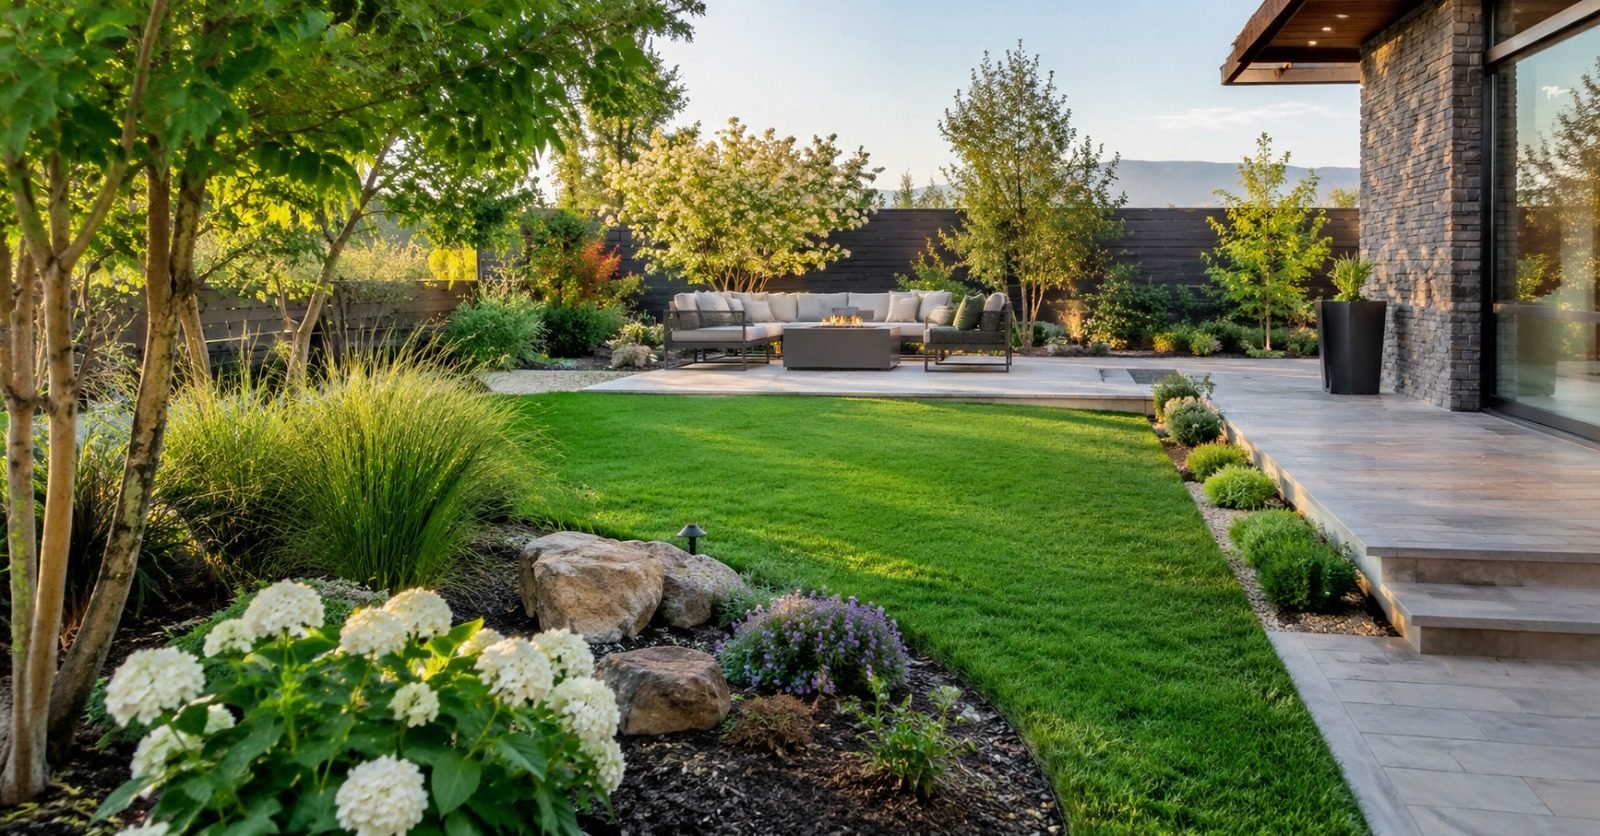
While you are planning, measure the full length of the line, including curves, so you can order enough material. Allow a little extra for cutting, joints and mistakes.
2. Dig the trench
Excavation is the most labour-intensive part of the job. For most materials the trench is commonly 10–15 cm (4–6 in) deep, deep enough to stop grass roots creeping underneath into the border. Check the edging manufacturer's guidance for the exact depth your product needs, and dig slightly deeper for stone, brick and timber so there is room for a base layer.
Use a square-ended spade or a half-moon edging iron rather than a pointed shovel, and keep the face on the lawn side clean and vertical. Consistency matters: if the depth varies a lot, the finished edging will look uneven. Stack the turf and soil you remove on a tarpaulin; you can use it for backfilling, fill low spots elsewhere in the garden or compost the turf.
3. Prepare a base where needed
Placing heavy edging straight onto loose soil is a common mistake. Soil settles over time, and stones, bricks or timbers sink with it. For stone, brick and timber, add a layer of sharp sand or fine crushed gravel of about 25–50 mm (1–2 in) to the bottom of the trench and compact it firmly with a hand tamper or the end of a sturdy timber post. Metal and plastic edging usually go straight into firm soil, but follow the manufacturer's instructions.
4. How to install each type of edging
Once the trench is ready, the method depends on the material. The basics for each are below.
Metal strips
Steel and aluminium strips give a slim, almost invisible line and bend smoothly around curves. Weathering steel develops a rust-coloured finish that looks striking against green planting, while aluminium does not rust. Set the strip in the trench so that only a small lip shows above the soil, then drive the integrated stakes or the supplied pins through their slots with a rubber mallet. Use a block of wood between the mallet and the strip so you do not dent the top edge. Join lengths with the manufacturer's connectors so the line runs continuously.
Plastic coil
Plastic coil edging is usually the easiest option for beginners and handles long, sweeping curves well. Unroll it in the sun for a while beforehand so it relaxes and is easier to shape. Set it in the trench so only the rounded top bead stays visible; if it is too shallow, it can lift out of the ground in freeze-thaw cycles. Secure it with anchoring stakes at the spacing the manufacturer gives, plus extra at joints and curves.
Timber
Timber edging suits rustic and woodland gardens and is especially good for straight lines and raised beds. Use timber treated for ground contact, set it on the compacted base and check it is level along its length. Fix it with galvanised spikes or stakes as the supplier recommends, usually driven through pre-drilled holes into the ground below. For vegetable beds, check that the treatment is suitable for food growing, or line the inside of the bed with a membrane so the soil does not sit directly against the timber.
Natural stone
Stone such as granite setts, fieldstone or flagstone offcuts gives a timeless border. Its weight helps it stay put, but a shallow trench and base stop it shifting over time. Choose pieces of a similar thickness so the top line stays fairly even, and match the scale to the garden: chunky stones for large borders, smaller setts or cobbles for intimate beds. Bed each stone into the base, tapping it down with a rubber mallet, and close the joints tightly.
Brick
Brick suits traditional and formal gardens, and laid flat and flush with the lawn it can form a mowing strip that lets the mower wheels run along the edge. Bricks can also be set upright for a taller border or at an angle for a sawtooth effect. They need a firm, level base to stop them sinking, and the technique has a lot in common with laying paving. For full step-by-step detail, read our guide on how to build paver edging.
5. Level and secure
As you place the edging, check it frequently with a spirit level. Even if the garden slopes, you want individual units, such as bricks, stones or timbers, to sit level with each other. On a slope, step the edging down in short level sections rather than running it diagonally. If a stone or brick sits low, lift it and add a little sand underneath; if it sits high, tap it down gently with a rubber mallet.
For flexible edging, drive stakes at a slight angle towards the border side for better holding power, which stops the edging leaning towards the lawn over time. Make sure the stake heads finish flush with or just below the top of the edging so they are not visible and will not catch a mower blade.
Tip: Before you backfill, walk the full length of the edging and look along it from one end at ground level. Small kinks and dips are much easier to spot this way, and much easier to fix now than once the soil is packed in.
6. Backfill and mulch
Once the edging is in position and level, lock it in by backfilling both sides of the trench. On the lawn side, use the soil and turf you removed, packing it firmly against the edging for support. On the border side, use good topsoil. Firm it down with your heel to remove air pockets so the edging will not lean or shift after the first heavy rain.
Finally, spread mulch, bark or decorative gravel across the border. Keep the finished surface about 1 cm (½ in) below the top of the edging so it does not spill over onto the lawn. Water the area thoroughly to settle the soil and sand around the edging, then top up any spots that sink.
FAQ
How deep should landscape edging be?
Most edging sits in a trench commonly 10–15 cm (4–6 in) deep, deep enough to stop grass roots creeping underneath, with only a small lip or the top bead left above ground. Stone, brick and timber need a little extra depth for the base layer. Always check the manufacturer's guidance for your product.
Which edging material lasts longest?
Natural stone, brick and good-quality metal edging generally outlast timber and plastic, but how long any edging lasts depends on the product, the installation, your soil and climate, and maintenance. Check the manufacturer's warranty for its stated term, and see our landscape edging pros and cons guide for a fuller comparison.
Do I really need a sand base?
Not usually for plastic or metal strips, which go into firm soil. For brick, stone and timber, a compacted base of sand or fine gravel of about 25–50 mm (1–2 in) is strongly recommended, as it stops the edging sinking and shifting in wet or frosty weather.
How do I stop weeds growing in the gaps of brick or stone edging?
Lay the units with tight joints and fill the gaps with jointing sand. Polymeric sand, which hardens once wetted, is another option; follow the product's instructions closely. A weed membrane under the border also helps.
Can I install landscape edging on a slope?
Yes. For rigid materials such as stone, brick and timber, step the edging down in short level sections, like a flight of stairs, rather than following the slope diagonally. Flexible metal and plastic edging can follow a gentle slope, but keep the exposed height consistent.
Final thoughts
Good edging comes down to a well-planned line, a clean trench of consistent depth and firm backfilling, whichever material you choose. If you are still choosing, compare the options in landscape edging pros and cons; if you have settled on brick or block, follow our step-by-step guide to building paver edging; and if you are planning a bigger garden refresh, see our ideas for a patio and deck combination in a small garden. For help designing borders, lawns and outdoor living spaces that work together, explore our balcony and terrace decoration service or book a consultation.


