Budget Home Decor Home Decor Trends
How to Build a Patio Deck Combo: Step-by-Step for DIYers
How a patio deck combo is built, step by step: approvals, planning, footings, ledger, framing, patio base, paving, decking, steps and finishing, and where professionals come in.
By Admin Published 10 min read

A patio deck combo gives you the raised, architectural feel of a deck and the solid, hard-wearing surface of a stone or paved patio in one connected design, with separate zones for dining, lounging and cooking. It is also two construction projects in one: a timber structure and a piece of hard landscaping that have to meet neatly at the same levels. This guide walks through the stages in order, so you can plan the job properly, understand what each trade is doing and decide which parts you can realistically take on yourself.
Before you start: approvals and professionals
Treat this as an overview of the process, not a substitute for a design for your site. Check approvals first. In England, decking is generally permitted development if it is no more than 30 cm (12 in) above the ground and, with outbuildings, covers no more than half the garden. Decks that are attached to the house or raised higher typically need building regulations approval, and may need planning permission; in the US, attached and raised decks usually need a building permit and inspections. A ground-level patio in a back garden often needs no permission, but retaining walls, changes to drainage, listed buildings, conservation areas and flats can all change that. Check with your local planning or building authority before you finalise anything.
Bring in a structural engineer or qualified builder for anything that carries load: the footings, the ledger fixing to the house, beam and joist sizes on a raised deck, guarding, and any retaining walls. Mains-powered lighting should be installed by a qualified electrician; in the UK, outdoor circuits must meet Part P of the Building Regulations, with RCD protection. A capable DIYer can often take on the patio, the decking boards on an approved frame, the finishing and the styling.
Safety and tools
Before any digging, check for buried services: look for inspection covers, outdoor taps, sockets and lights, ask your utility companies for plans, and use a cable avoidance tool if you are unsure (in the US, call 811). Wear eye protection, gloves and sturdy boots, and ear protection with power tools. Cutting paving and concrete creates silica dust, so use a wet saw or a saw with dust suppression and a suitable respirator. A plate compactor is heavy and vibrates hard: hire one from a reputable hire company, ask for a demonstration, follow their safety guidance and wear ear protection and steel-toe boots.
Typical tools include a tape measure, pegs and string line, a spade and wheelbarrow, a long spirit level or laser level, a rake, a plate compactor, a rubber mallet, a circular or mitre saw, a cordless drill/driver and board spacers.
1. Planning
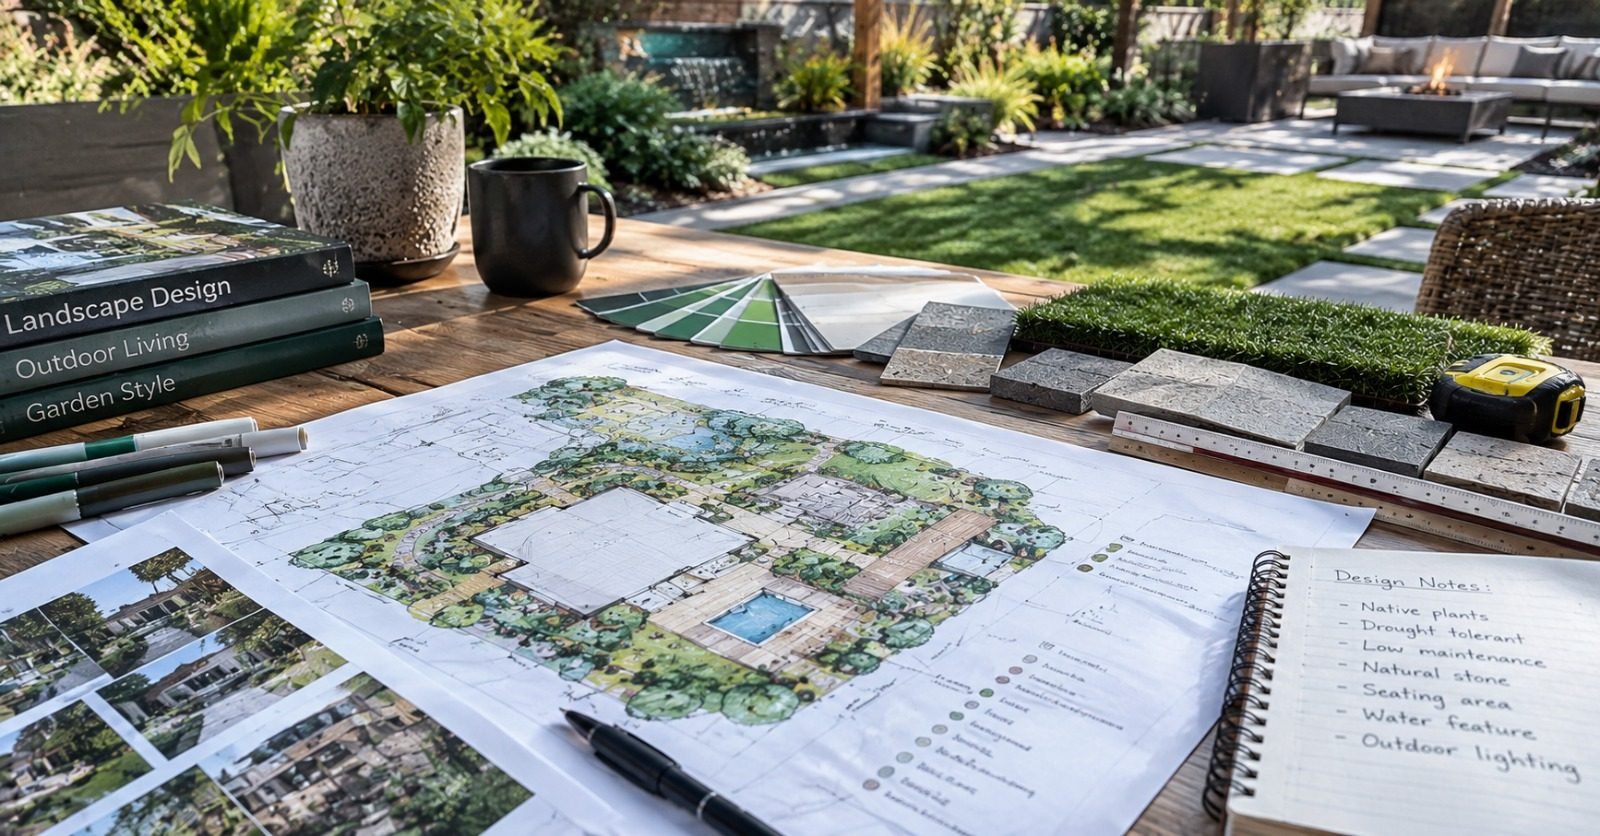
A combo project depends on a careful plan. Decide what each level is for: usually the deck acts as an extension of the kitchen for dining, and the patio becomes the lounge or fire pit zone. Keep any fire pit on the stone patio, well away from the deck, its steps and overhanging planting. Measure the garden, sketch the layout on paper or in a 3D app, and mark the key levels: the back door threshold, the deck surface, each step and the patio edge. Check the route from the house to the deck and down to the patio feels natural and unobstructed.
This is also when you confirm the patio height against the house. In the UK, the finished patio surface should usually sit at least 150 mm (6 in) below the damp-proof course (DPC) of the house, so rain does not splash above it or bridge it. If that leaves too big a step from the door, discuss options such as a deck landing or a drainage channel with your designer.
2. Materials
Choose materials that work together. For the deck, the main choices are pressure-treated softwood, a naturally durable timber such as cedar, or composite boards; composite needs less upkeep, while timber offers a classic look. The frame is usually pressure-treated timber, whatever the boards. For the patio, consider concrete paving, natural stone such as sandstone, slate or limestone, or clay pavers. Link the colours: a cool grey deck sits well with paving that has blue or charcoal undertones, and warm cedar suits buff or honey-toned stone. Use stainless steel or hot-dip galvanised fixings and connectors that are compatible with treated timber.
3. Preparation
Clear the whole site of turf, roots and debris. Use pegs and string, or batter boards, to mark the outlines of both the deck and the patio, and check the corners are square by measuring the diagonals. Plan drainage now: the ground and the patio should fall away from the house, with a gentle fall, for example roughly 1 in 80, or as your installer sets it for the paving and site. If the patio area tends to hold standing water, ask your installer about a soakaway, drainage channel or French drain before any base goes down.
4. Footings
A deck is only as stable as its footings. Their size and depth depend on your soil, local frost depth, nearby trees and the loads, so they should be set by your engineer or agreed with building control; do not guess. The holes are dug at the marked post positions, often lined with cardboard tube formwork, and filled with concrete. Galvanised post anchors are set into the wet concrete and lined up carefully with the string lines. Leave the concrete to cure for as long as your engineer or concrete supplier advises before fixing posts or adding load.
5. Ledger
If the deck is attached to the house, the ledger board is the structural link between the two, and it is one of the most important connections in the build. How it is fixed, and with what, depends entirely on what the wall is made of and how it is built, so it should be designed by an engineer and approved by building control. Flashing over the top of the ledger is essential to stop water running behind it and into the house. The ledger must also be perfectly level, because it sets the height of the whole deck. If the wall is unsuitable, a freestanding deck on its own posts next to the house may be the better option.
6. Framing
With the footings cured and the ledger in place, posts go into the anchors: often 150 × 150 mm (6×6), though your engineer will confirm. The beams are fixed to the posts and checked for level, then the joists are laid, typically at 400 mm (16 in) centres, or 300 mm (12 in) centres if the boards will run diagonally. Some boards, especially composites, need closer spacing, so follow the board manufacturer's installation guide. Use joist hangers at the ledger and the specified connectors over the beams. Check the frame is square by measuring both diagonals; they should match.
7. Excavation
While the frame is being finished, turn to the patio. Dig out the area inside the string lines to a depth that allows for the compacted sub-base, the bedding layer and the thickness of your paving. For a patio used on foot, the sub-base is commonly around 100–150 mm (4–6 in) of compacted crushed stone, with about 25 mm (1 in) of bedding, but your installer may specify more on soft or clay soils. Compact the exposed ground with the plate compactor so the base has something firm to sit on.
8. Sub-base
Spread the crushed stone in thin layers and compact each one thoroughly before adding the next, rather than compacting the full depth in one go. Lightly dampening the stone as you work helps it bind. Keep checking levels with a string line and level, maintaining the fall away from the house. The finished sub-base should be firm enough that you leave no footprints on it.

9. Paving
Spread the bedding layer over the sub-base and screed it level to the fall; do not walk on it once it is smoothed. Lay your paving from a straight edge, usually the house wall (respecting the DPC level) or the line where the deck will meet the patio, in your chosen pattern: herringbone, stretcher bond or basketweave. Tap each piece down with a rubber mallet. Natural stone slabs are often laid on a mortar bed instead, so follow the supplier's guidance for your material. Fit an edge restraint around the perimeter so the paving cannot creep outwards.
10. Decking
Lay the deck boards across the joists, working out from a straight edge. With timber, pre-drill near the ends to prevent splitting. With composite, use the manufacturer's recommended fixings or hidden fastener system. Leave a gap of about 3–6 mm (1/8–1/4 in) between boards, as the board manufacturer recommends, so water drains and the material can move. Trim the ends with a circular saw against a straight edge, or add a picture-frame border board round the edge for a neater finish.
11. Steps and transitions
The point where the deck meets the patio is usually a set of wide steps, or a single long step if the deck is low. Rest the stair stringers on the paving or on a concrete pad, never on bare soil, and keep timber from sitting directly on the paving: leave a clear gap with airflow under the deck edge so the frame can dry out. Wrap-around steps that reach the patio from more than one side make the link feel generous. Steps and any guarding must meet your local building regulations, so check rise, going and handrail requirements with building control.
Tip: Set out the bottom step position on the patio before you lay the paving there. Mark it on the edge restraint or with a peg, so the stringer pad and the paving pattern line up rather than leaving a sliver of cut slab at the foot of the stairs.
12. Finishing
To lock the patio, brush jointing material into the gaps between the paving. If you use polymeric sand, follow the label closely: it usually needs a dry surface, dry weather for a set period, and every trace swept off the face before it is misted, or it can leave a haze. For a timber deck, apply an exterior stain, oil or sealer at the time and in the conditions the product label specifies; some treated timber needs to dry out before it will take a finish, so check with the supplier. Then add guarding where needed, lighting installed by a qualified electrician, and your furniture.
FAQ
Do I need a permit for a patio deck combo?
Often the deck part needs approval and the patio does not, but it depends on where you live. Attached decks and raised decks typically need building regulations approval in England and a building permit in most US areas, and may need planning permission. Retaining walls and drainage changes can affect the patio too. Always check with your local planning or building authority before you start.
Should I build the deck or the patio first?
It is usually better to do the deck footings and frame first. Concrete, timber deliveries and heavy work then happen before the new paving is laid, so it is not cracked or stained. Once the frame is up, the patio can be built around it and the deck boards laid last.
How do I stop weeds growing in the patio?
A well-compacted sub-base makes it harder for weeds to come up from below, and filled, firm joints stop seeds settling from above. Keep the joints topped up and brush the patio regularly.
How much gap should I leave between the deck and the patio?
Leave a clear gap between the deck framing and the paving rather than letting timber touch it, so air can circulate and the frame does not sit in water. The exact gap depends on the design and the levels; your designer or builder will set it, and the board manufacturer's guidance on ventilation also applies.
Can I build a deck over an existing concrete patio?
Sometimes. A low deck built on battens laid over the slab, often called a sleeper deck, can work if the concrete is sound, falls away from the house and drains well. Use packers so the battens do not block drainage, and check that the finished deck surface stays well below the house's damp-proof course.
Final thoughts
A patio deck combo is a big project, but with the approvals in place, the levels drawn and the structural parts designed by the right people, much of it is satisfying work for a confident DIYer. If you are still deciding whether the layout suits you, read patio deck combo pros and cons. For more detail on laying paving, see how to build a paver driveway, and for a simpler deck option, browse floating deck ideas for small gardens. For help styling the finished space, explore our balcony and terrace decoration service or book a consultation.


