How to Build an Outdoor Pizza Oven: Step-by-Step for DIYers
A step-by-step guide to building a wood-fired pizza oven: from the concrete slab and block stand to the firebrick hearth, brick dome, insulation, chimney, render and a slow cure.
By Admin Published 7 min read

There is a primal magic in the combination of fire, stone, and dough. For the backyard enthusiast, nothing quite compares to the centerpiece of an outdoor kitchen: the wood-fired pizza oven. While store-bought kits exist, building your own from scratch is a rite of passage for DIYers. It is a project that combines masonry, physics, and culinary art.
A DIY pizza oven doesn't just produce a superior Margherita with a blistered, leopard-spotted crust; it becomes a social hub. However, constructing one requires precision. You are essentially building a thermal engine that must withstand temperatures exceeding 900°F (480°C) while remaining touch-safe on the outside. This guide will walk you through the essential stages of creating your own backyard masterpiece.
Not sure an oven suits your garden yet? Weigh it up first with our guide to outdoor pizza oven pros and cons.
1. Foundation
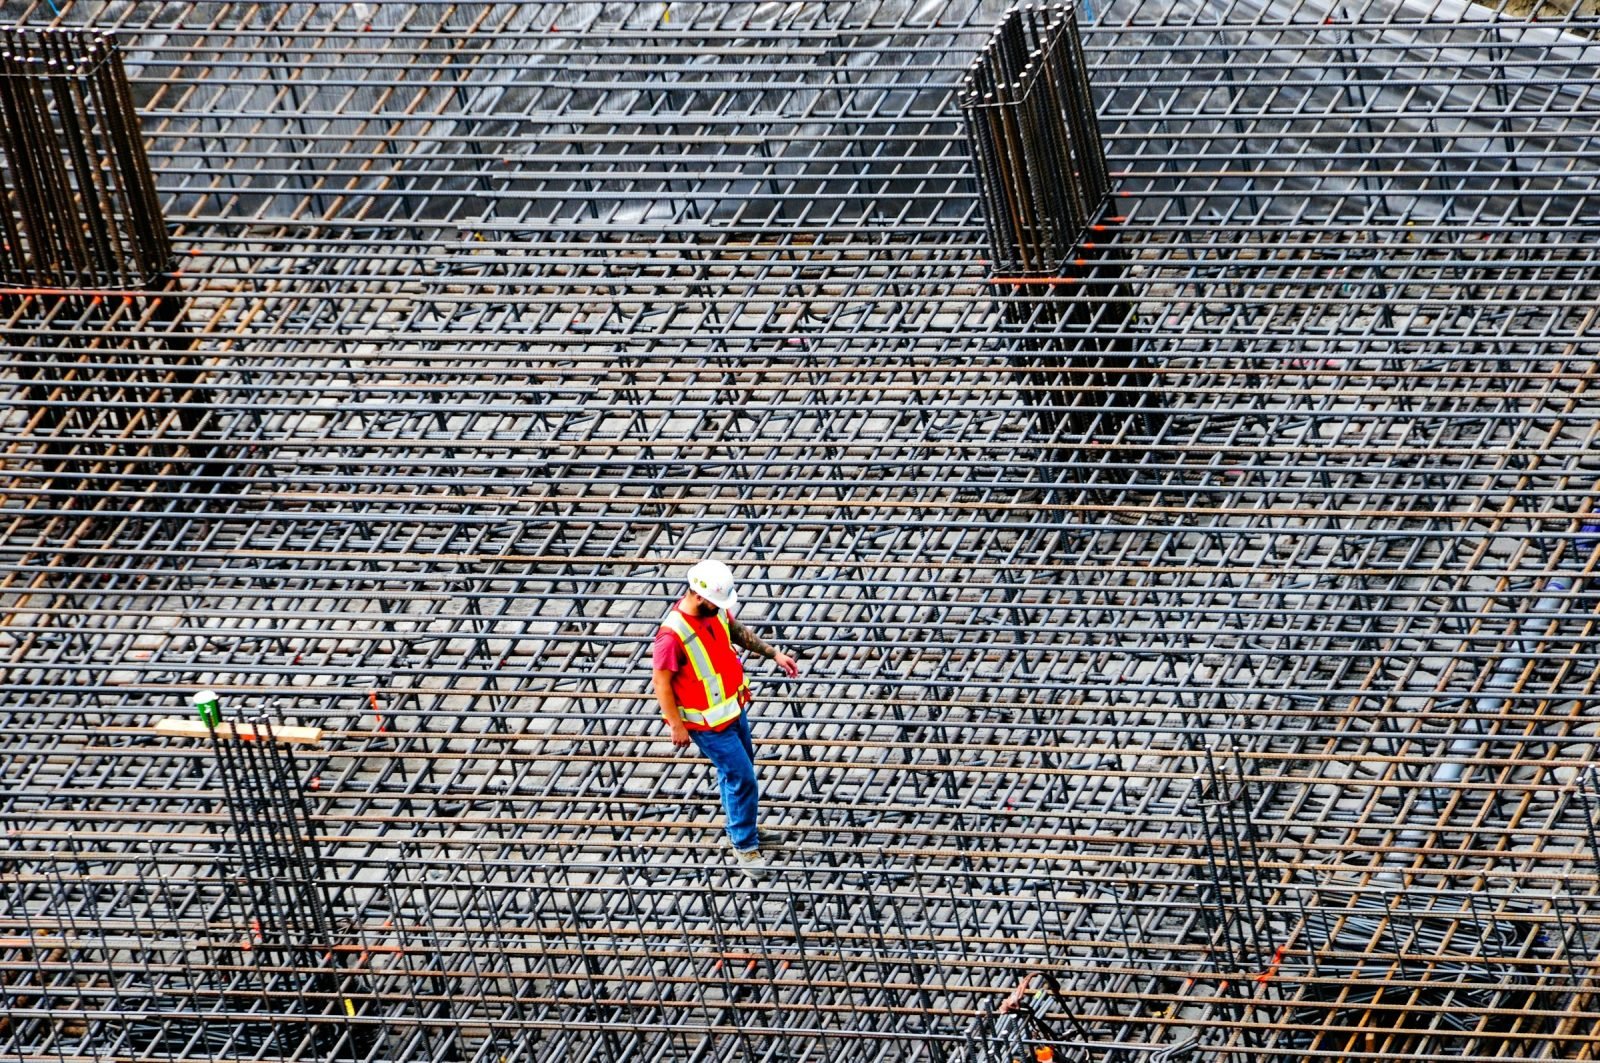
Every great structure begins with a rock-solid foundation. Because a full-sized brick pizza oven can weigh several thousand pounds, a standard patio paver won't suffice. You need a reinforced concrete slab. Start by excavating the area to a depth of at least 8 inches. Fill the bottom with 4 inches of compacted gravel for drainage, then build a wooden frame (formwork) to hold the concrete.
Lay down a grid of rebar to provide tensile strength, ensuring the metal is suspended in the middle of the slab rather than sitting on the dirt. Pour your concrete mix, level it with a screed board, and allow it to cure for at least a week. If you live in a climate with freeze-thaw cycles, ensure your foundation sits below the frost line to prevent the oven from shifting and cracking over time.
2. Stand
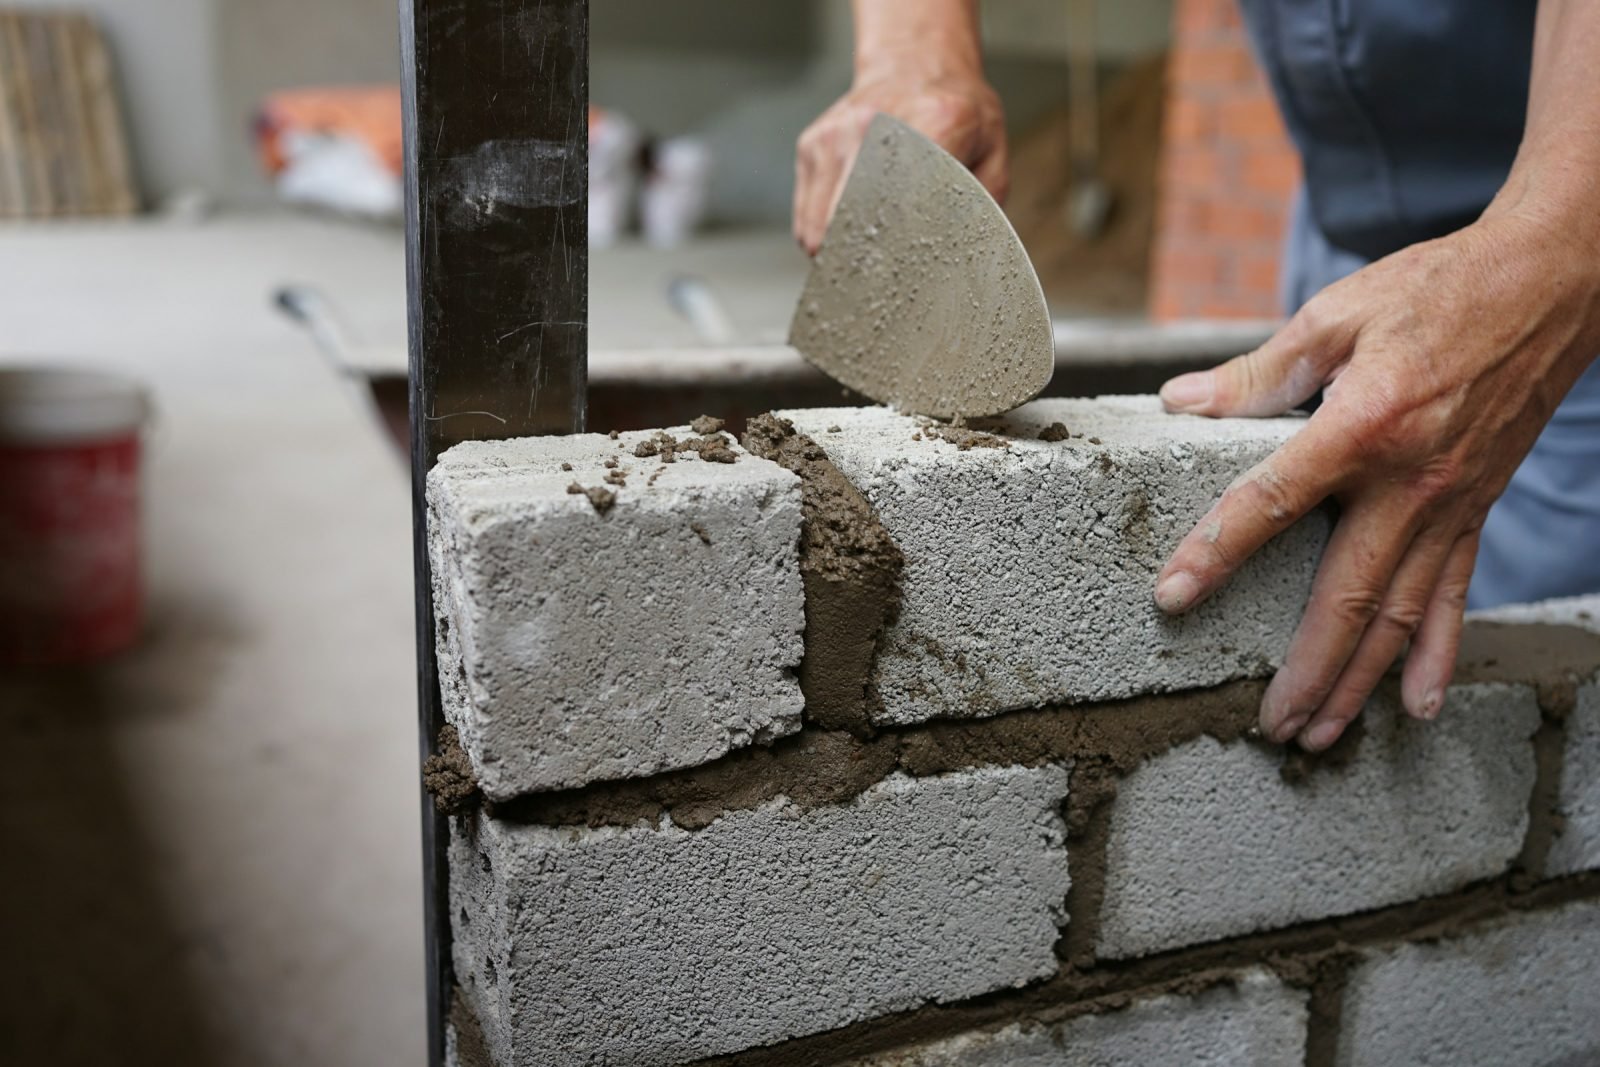
The stand brings the oven to a comfortable working height—usually around 40 to 44 inches from the ground. Most DIYers use concrete cinder blocks for this stage because they are affordable and incredibly strong. Lay the blocks in a "U" or "H" shape, which allows for a storage area underneath for your firewood.
Use a level at every stage; if the stand is crooked, the hearth will be crooked, and your pizzas will slide toward the fire. Once the blocks are stacked and mortared, fill the cores with concrete and additional rebar for maximum stability. You can later finish this base with stone veneer, stucco, or brick to match your home’s aesthetic.
3. Hearth
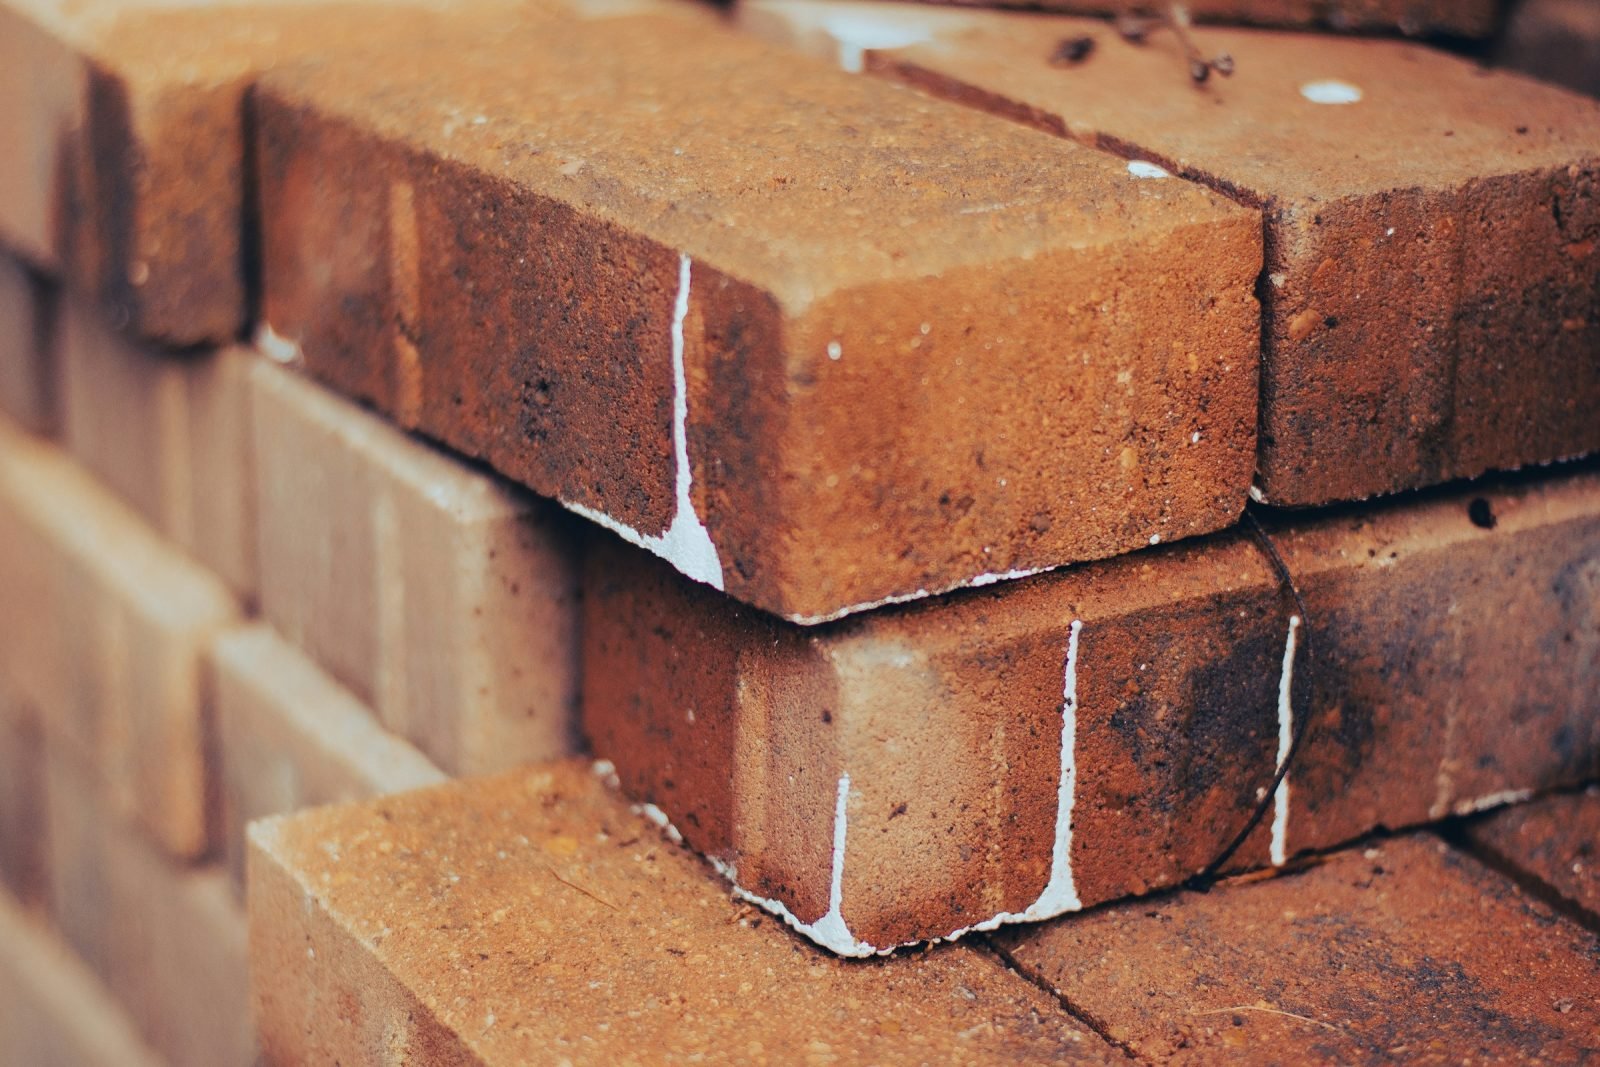
The hearth is where the magic happens. It consists of two main layers: the insulation and the cooking surface. You must never lay your cooking bricks directly onto the concrete stand. Concrete absorbs heat, which means your oven will take hours to heat up and will lose temperature rapidly. Instead, lay down a 2-to-3-inch layer of calcium silicate board or a "hearth mix" made of perlite and Portland cement.
On top of this insulation, lay your firebricks. These are special refractory bricks designed to withstand high heat without cracking. Do not use standard house bricks for the floor, as they can explode when moisture trapped inside turns to steam. Lay the firebricks in a herringbone pattern with no mortar. A tight, mortarless fit ensures the pizza peel doesn't snag on a lip when you're sliding pies in and out.
4. Dome
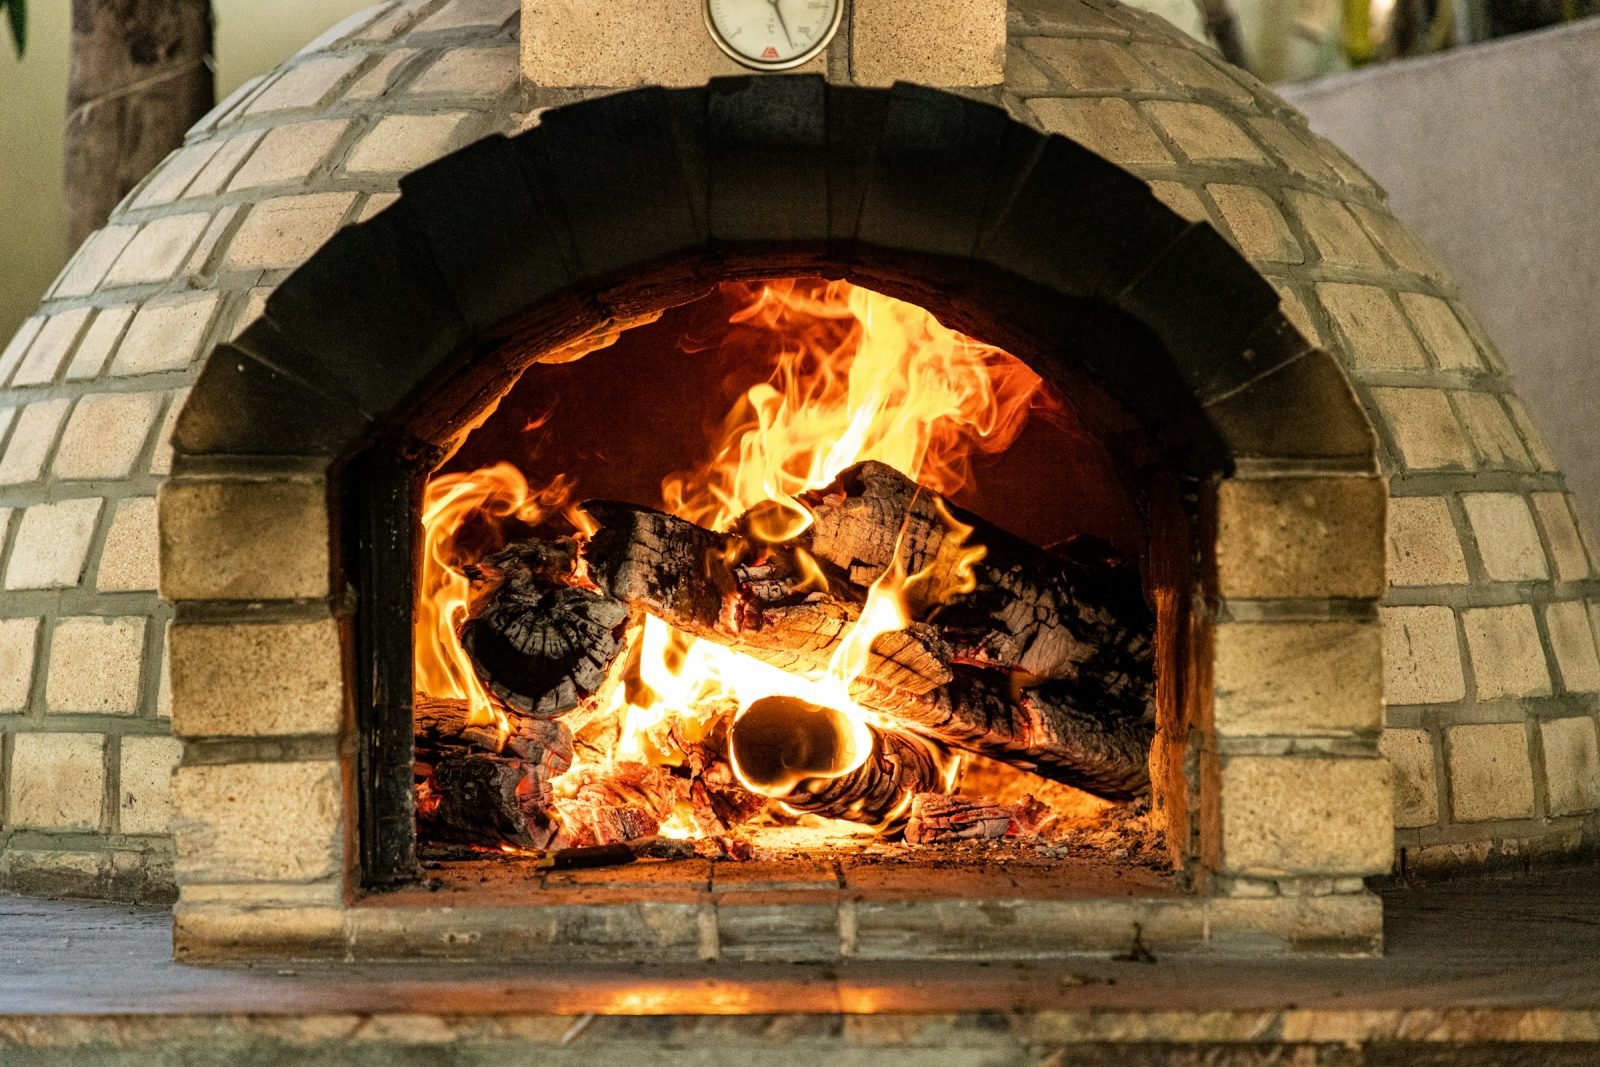
The dome is the most challenging and rewarding part of the build. Most DIYers choose the "Pompeii" style (a circular brick dome). To achieve the perfect curve, many builders use a "sand mold." You pile damp sand onto the hearth in the shape of the internal dome, cover it with wet newspaper or plastic wrap, and then build your brickwork over it.
Using a high-heat refractory mortar, lay your bricks in concentric circles. As you move higher, you will need to angle the bricks inward. This is where the sand mold provides essential support. The "Entry Arch" should also be constructed at this stage. A golden rule of pizza oven physics is the "63% rule": the height of the oven door should be approximately 63% of the interior dome height to ensure optimal airflow and heat retention.
5. Insulation
A common mistake is thinking the brick dome is enough. Without insulation, the heat will dissipate through the bricks into the outside air. To bake pizza after pizza at high heat, you need to wrap the dome in a high-temperature ceramic fiber blanket. This material is the same stuff used to line industrial furnaces.
Wrap at least two layers of 1-inch ceramic blanket over the brickwork, securing it with chicken wire. This "blanket" keeps the heat inside the thermal mass (the bricks), allowing the oven to stay hot for hours—sometimes even days. An well-insulated oven will be hot enough for pizza in the evening and still warm enough to bake bread the following morning.
6. Chimney
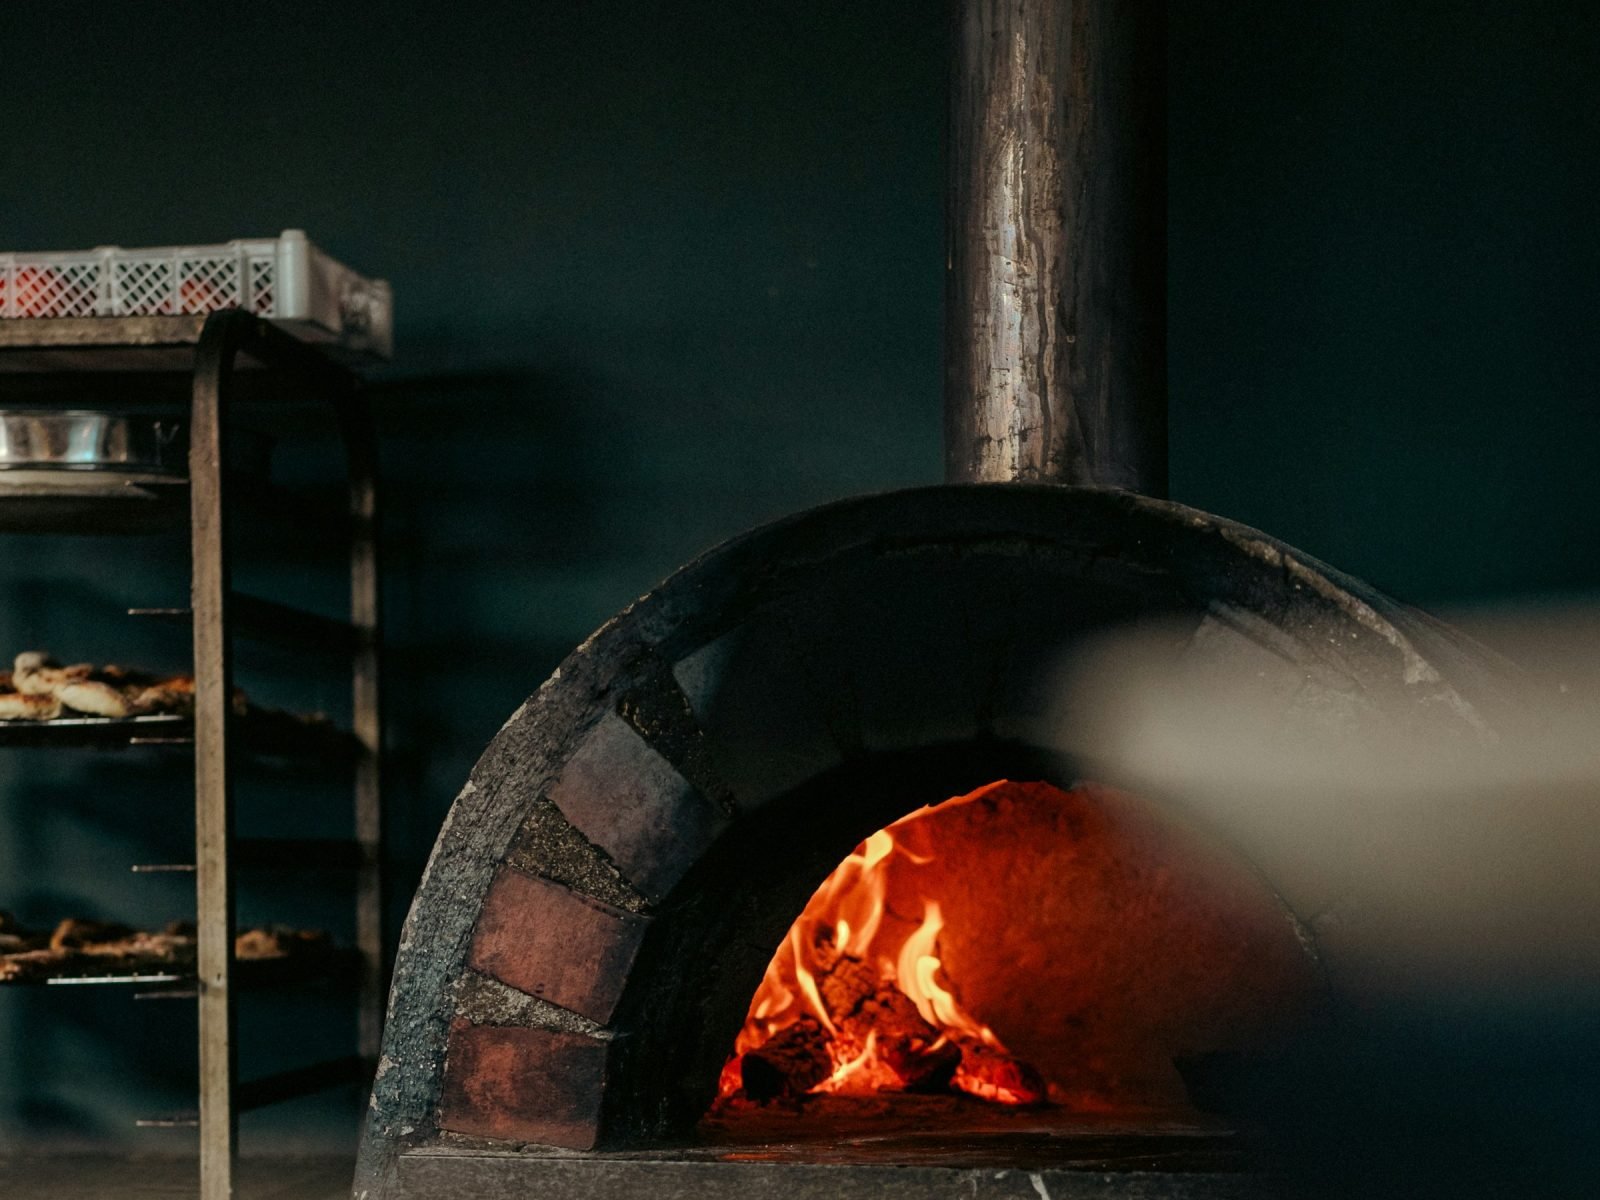
Proper ventilation is crucial for maintaining a clean-burning fire. The chimney should be located at the front of the oven, just outside the inner dome but behind the decorative outer arch. This placement creates a "heat trap." As the hot air rises, it pulls fresh oxygen into the oven across the floor, feeds the fire at the back, and then circles back along the ceiling to exit through the chimney.
Install a stainless steel flue anchor plate over the vent opening and attach a 2-to-3-foot chimney pipe. A rain cap on top is essential to prevent water from entering the oven, which could damage the refractory materials.
7. Render
The final layer is the "render" or the outer shell. This serves two purposes: protecting the insulation from the elements and giving the oven its finished look. Most builders use a "percrete" layer (perlite and cement) over the insulation for extra R-value, followed by a final coat of traditional stucco or lime plaster.
Ensure the render is waterproof. If water gets into your insulation, it will turn into steam the next time you fire the oven, which can cause the outer shell to crack or delaminate. You can paint the stucco with a masonry-grade breathable paint to add a pop of color to your backyard.
8. Curing
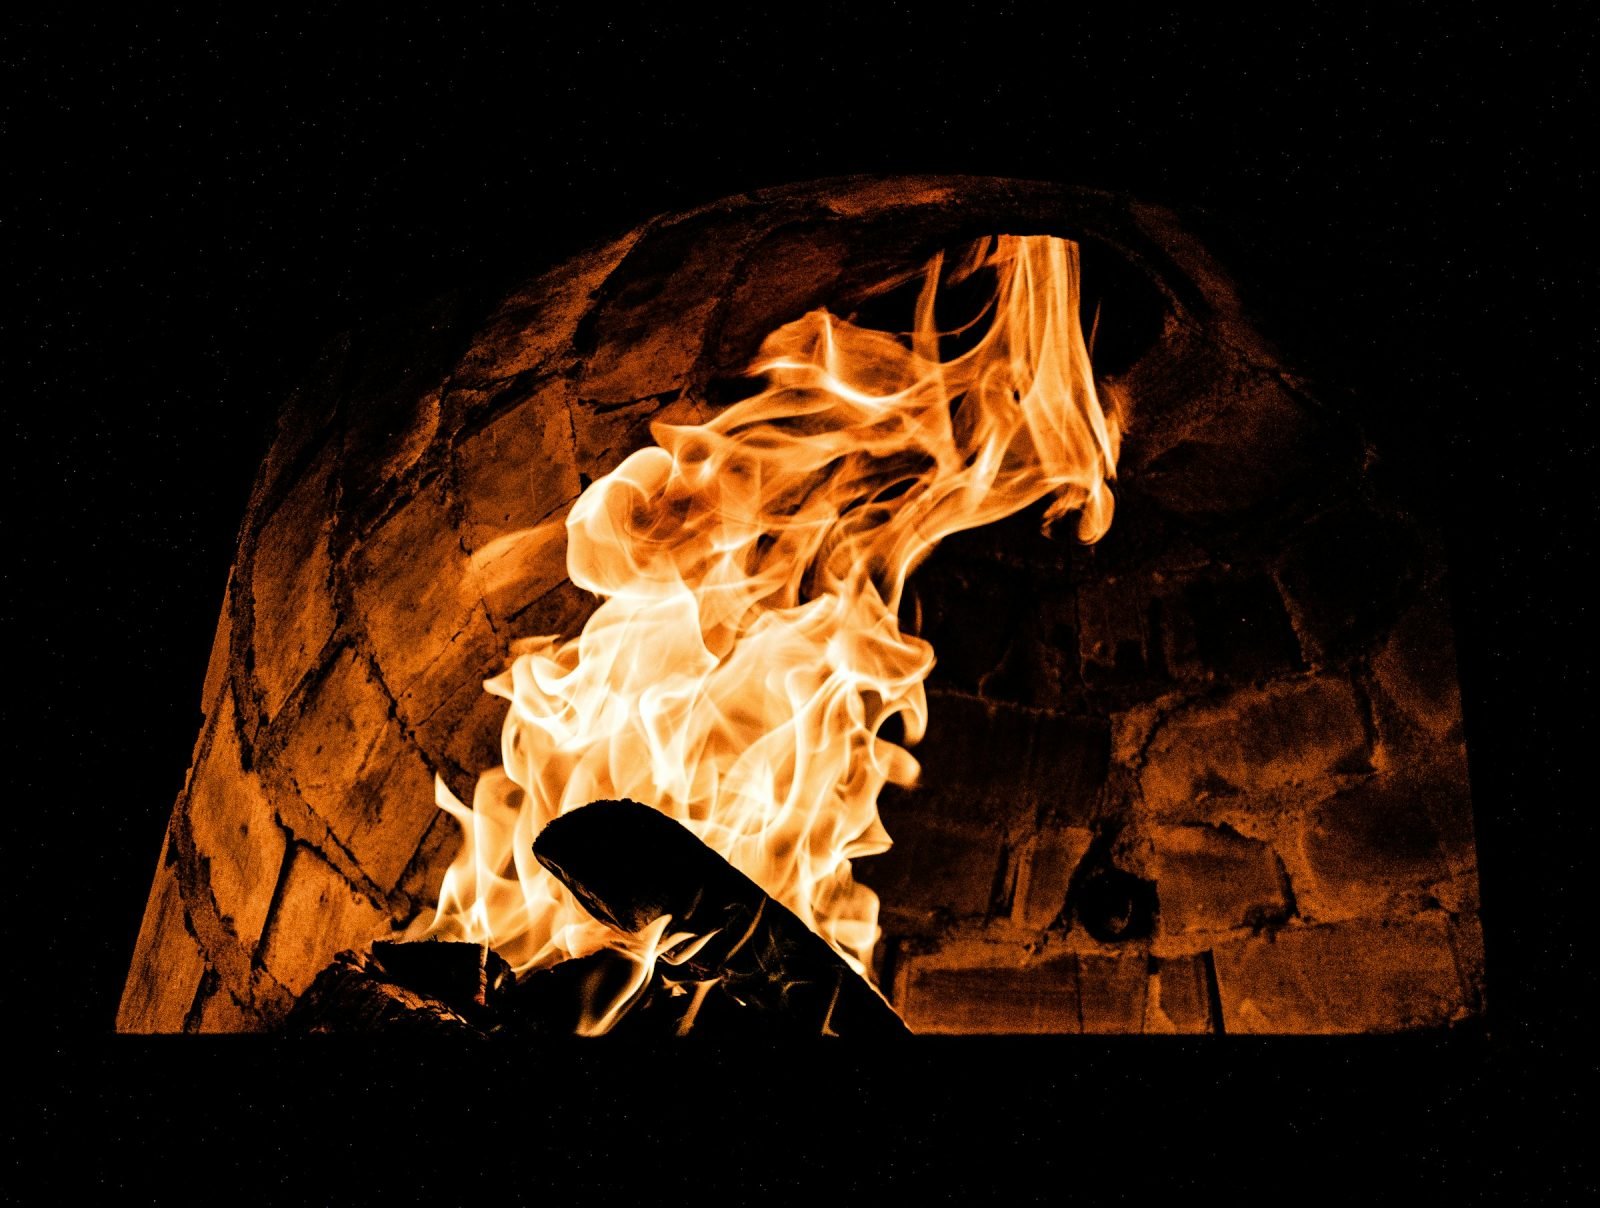
Resistance is the hardest part of the final step. You cannot build an oven and fire it to 900 degrees the next day. The materials contain a significant amount of moisture that must be driven out slowly. If you heat it too fast, the water turns to steam and creates "structural" cracks.
Perform a curing process over 5 to 7 days. Start with a tiny fire (just a few sticks) for an hour, keeping the temperature around 150°F. Each day, slightly increase the size of the fire and the duration. By day seven, you can finally bring it up to full temperature and watch the soot burn off the dome, turning it from black to white—the sign that you are ready to cook.
9. Firing

To cook, build a large fire in the center of the oven. Use dry hardwoods like oak, maple, or ash; avoid softwoods like pine, which create too much soot and creosote. Once the oven dome has "cleared" (the soot has burned off), push the fire to the back or the side using a brass brush.
The floor should be around 750°F-800°F for a 90-second Neapolitan pizza. The ambient air in the dome will be even hotter. Use a wooden peel to launch your pizza and a metal "turning peel" to rotate it as it cooks. The result is a flavor and texture that no indoor kitchen can ever replicate.
FAQ
Can I use regular mortar from a hardware store?
No. Regular mortar cannot withstand the extreme thermal expansion of a pizza oven and will crumble. You must use refractory mortar, which contains fireclay and other heat-resistant ingredients.
How long does it take to heat up a DIY pizza oven?
Depending on the thickness of your bricks and the quality of your insulation, it typically takes 60 to 90 minutes to reach pizza-making temperatures.
Does the outside of the oven get hot?
If you have insulated it correctly with ceramic blankets and perlite, the outer stucco should remain cool or only slightly warm to the touch, even when the inside is 900°F.
Can I build a pizza oven in the winter?
It is not recommended. Concrete and mortar need to cure in temperatures above freezing. If the water in the mix freezes, it will ruin the structural integrity of the oven.
Do I need a permit to build an outdoor oven?
Laws vary by city and county. In many places, a small outdoor oven is treated like a BBQ and doesn't require a permit, but it is always best to check your local building codes regarding "permanent outdoor structures" and fire pits.


