Budget Home Decor Outdoor Living
How to Build an Outdoor Bar: Step-by-Step for DIYers
Build your own outdoor bar in ten steps: planning heights and overhangs, choosing weatherproof timber, a level base, framing, cladding, a durable countertop, finishing, lighting, stools and upkeep.
By Admin Published 7 min read

An outdoor bar has a pull all of its own. It becomes the centre of every garden gathering: the place where drinks are poured, stories are told and evenings run late. Building one yourself is more than a weekend project; it adds to how you use your home and shows off your own craftsmanship. Whether you want a relaxed tiki feel, a modern industrial look or a classic cedar finish, the basics of construction are the same. This guide takes you from raw timber to the most popular spot on the street.
1. Planning

Before the sawdust starts flying, you need a plan. Start with the location. Choose a level spot close enough to the house to carry food and ice easily, but far enough away to feel like a destination. Being near your grill or outdoor kitchen is a bonus.
Then think about how people will use it. A standard bar height is 42 inches (about 107 cm), and a bar top 16 to 24 inches (40 to 60 cm) deep gives room for plates and glasses. Allow an overhang of 10 to 12 inches (25 to 30 cm) on the guest side so knees fit under it when people sit on stools. Sketch your design and mark where a built-in cooler, sink or small fridge might go, because those decide where water and power need to run.
2. Materials
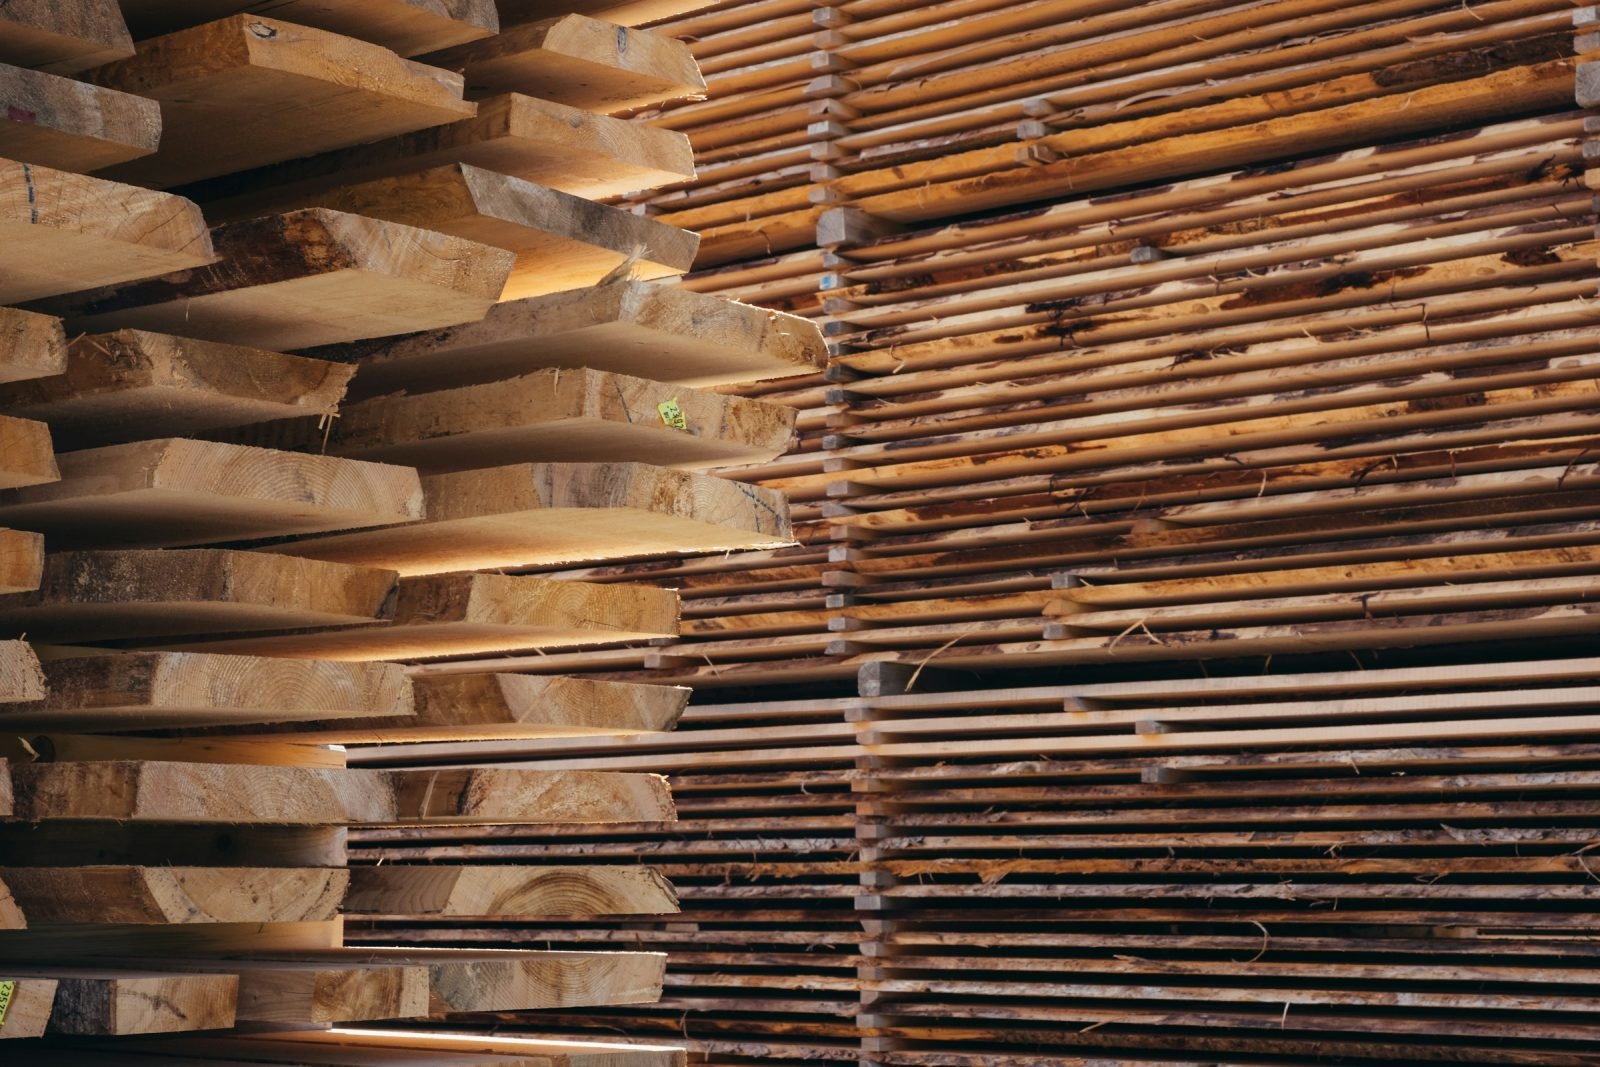
The right materials are the difference between a bar that lasts two summers and one that lasts twenty. It will face rain, sun and frost, so use weather-resistant timber. Pressure-treated softwood is the most affordable choice for the hidden frame because it resists rot and insects.
For the visible outside, cedar and redwood are excellent because of their natural oils and attractive grain. For a more modern look, try composite boards or corrugated metal panels. Use hot-dip galvanised or stainless steel screws, brackets and nails throughout: the preservatives in treated timber corrode plain steel, and rust streaks will spoil your finish.
3. Foundation
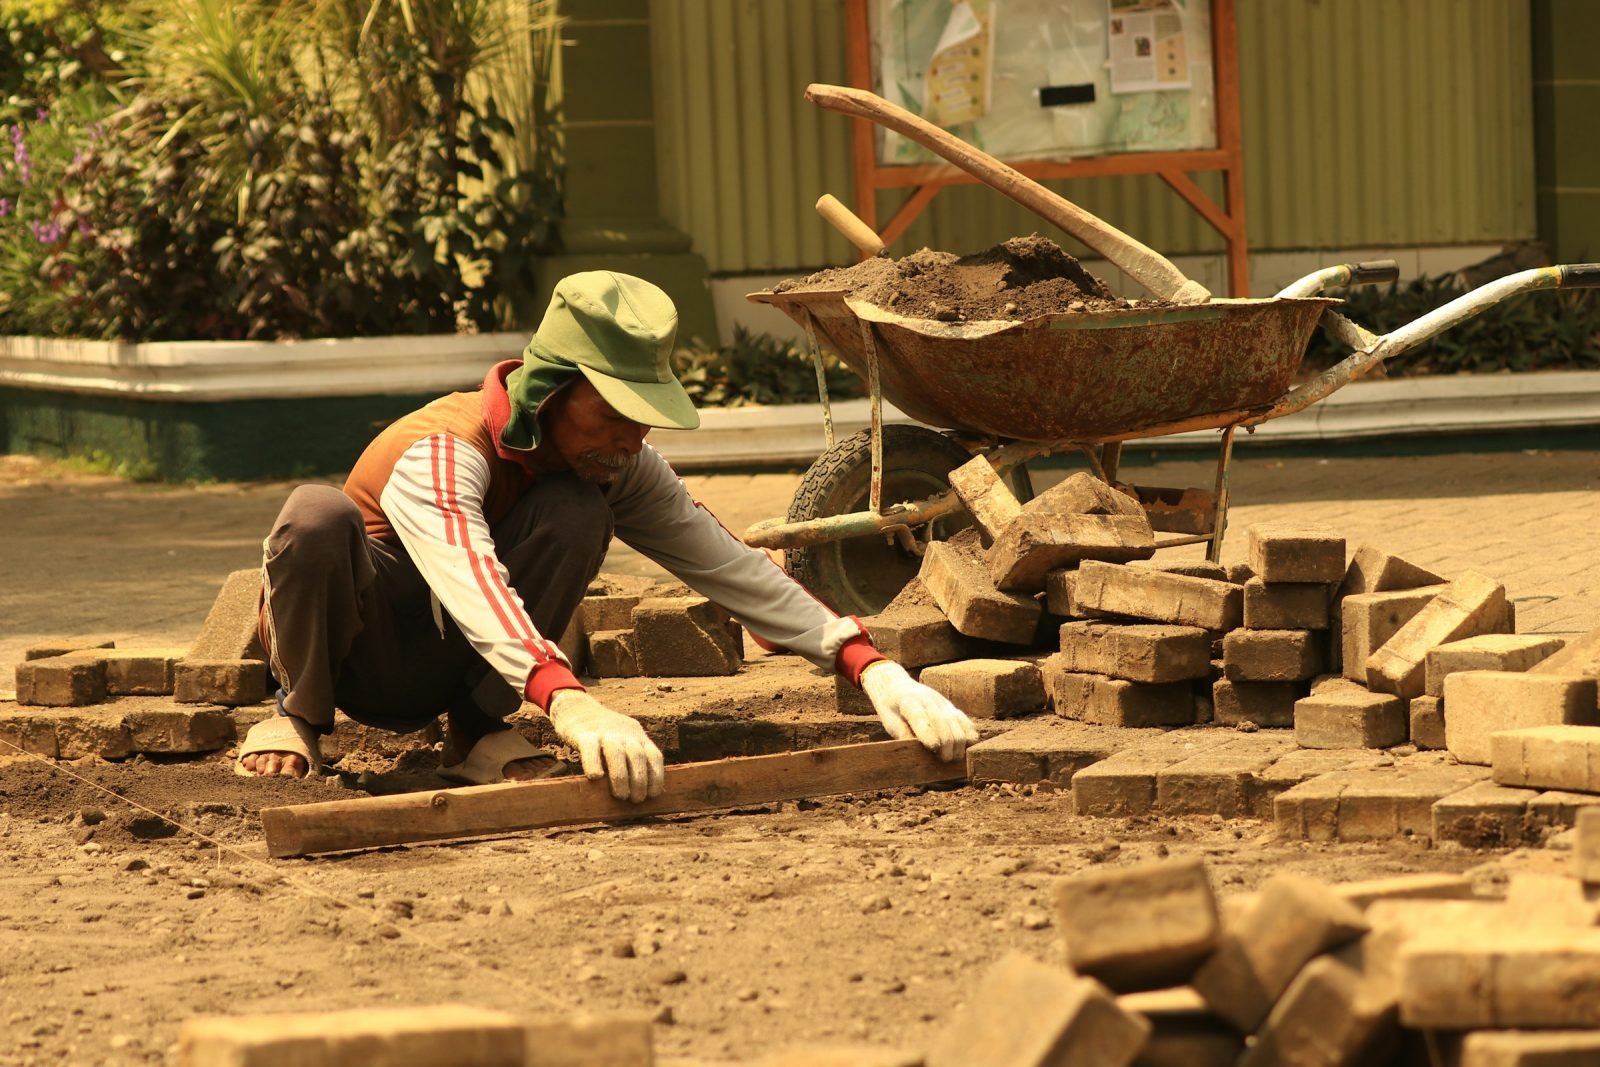
A finished bar is heavy, and on soft ground it will sink or lean. If you already have a concrete patio or a sturdy deck, you are ahead. If you are building on grass, make a solid base first.
Clear the area and dig down about 4 inches (10 cm). Fill with crushed gravel and compact it until it is rock-hard, then lay concrete pavers or pour a concrete pad on top. Use a long level to check the base is flat in every direction. That stops glasses sliding along the counter and keeps any doors and drawers swinging true.
4. Framing
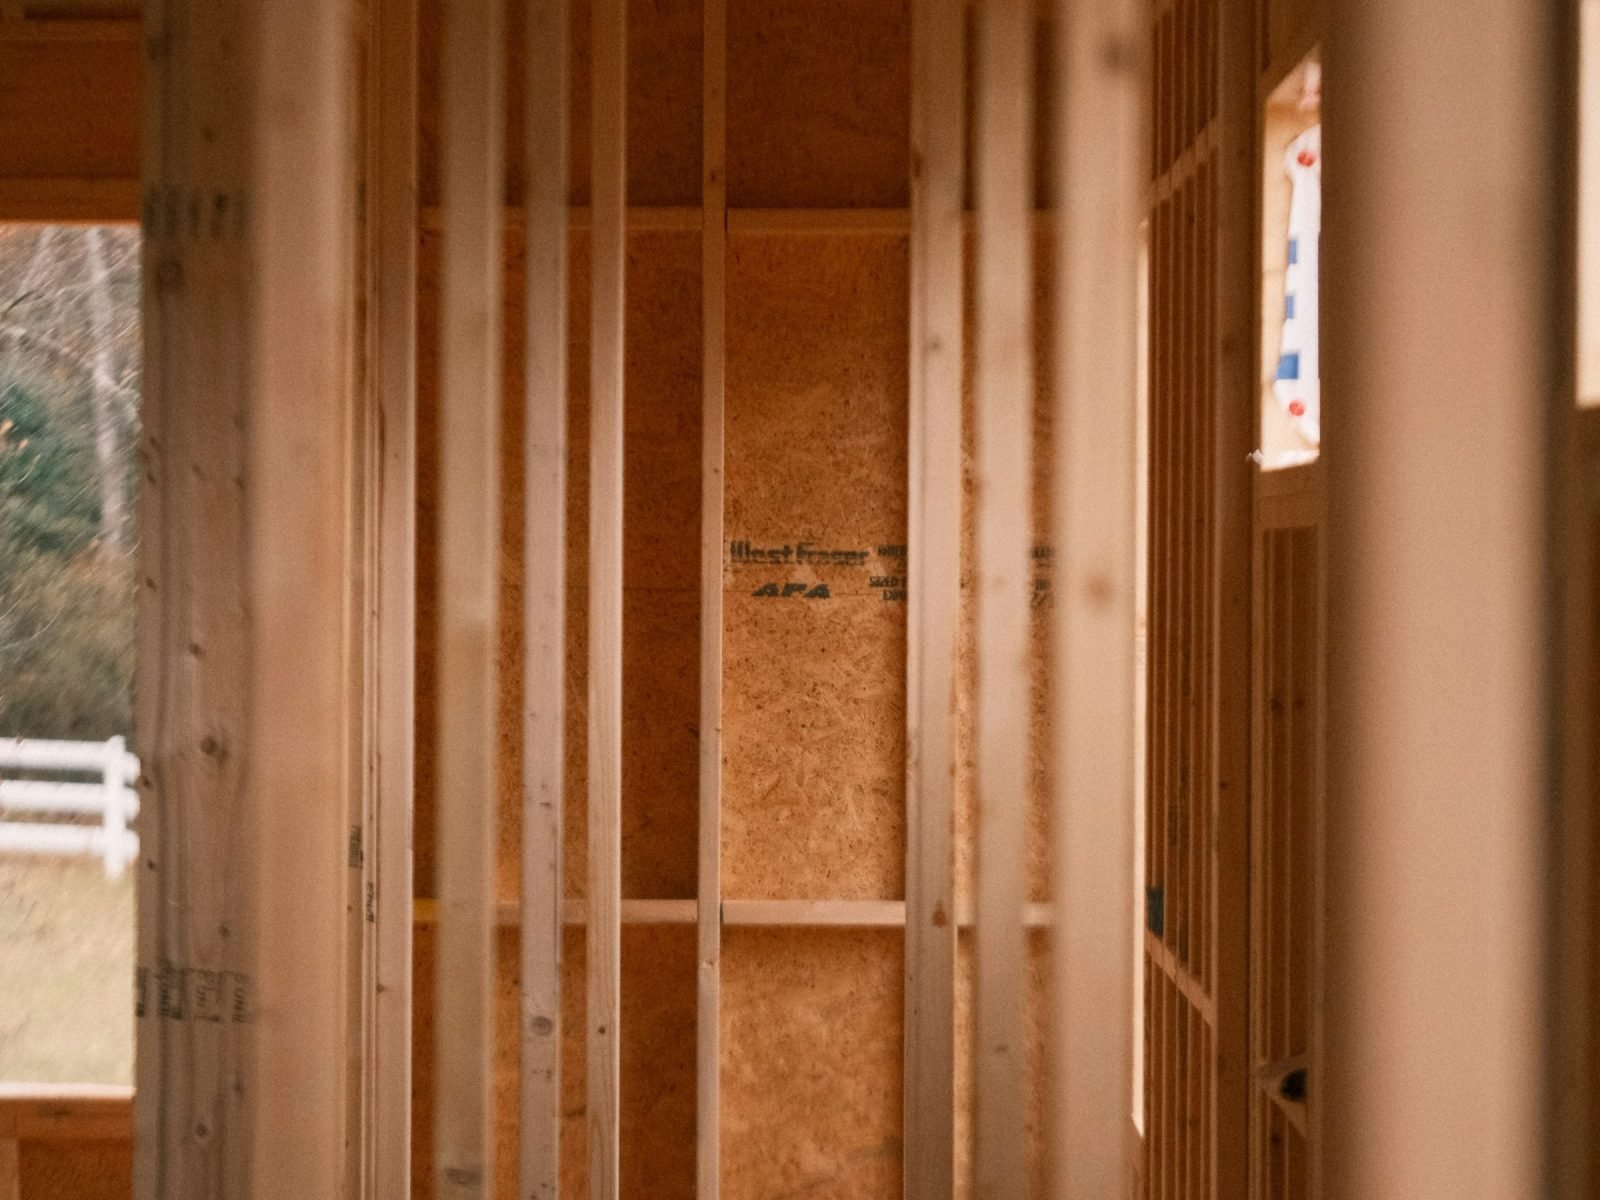
The frame is the skeleton of the bar. Most DIYers use box-frame construction: build two matching rectangular frames for the front and back walls from 2x4 timber (about 38 x 89 mm), then join them with horizontal stretchers to give the bar its depth.
Space the vertical studs at 16-inch (400 mm) centres. This is standard framing practice and gives the structure the strength to carry a stone or thick timber countertop. If you want an inside shelf for bottles and glasses, add the support cleats now. Check every corner with a speed square so the frame stays square.
5. Cladding
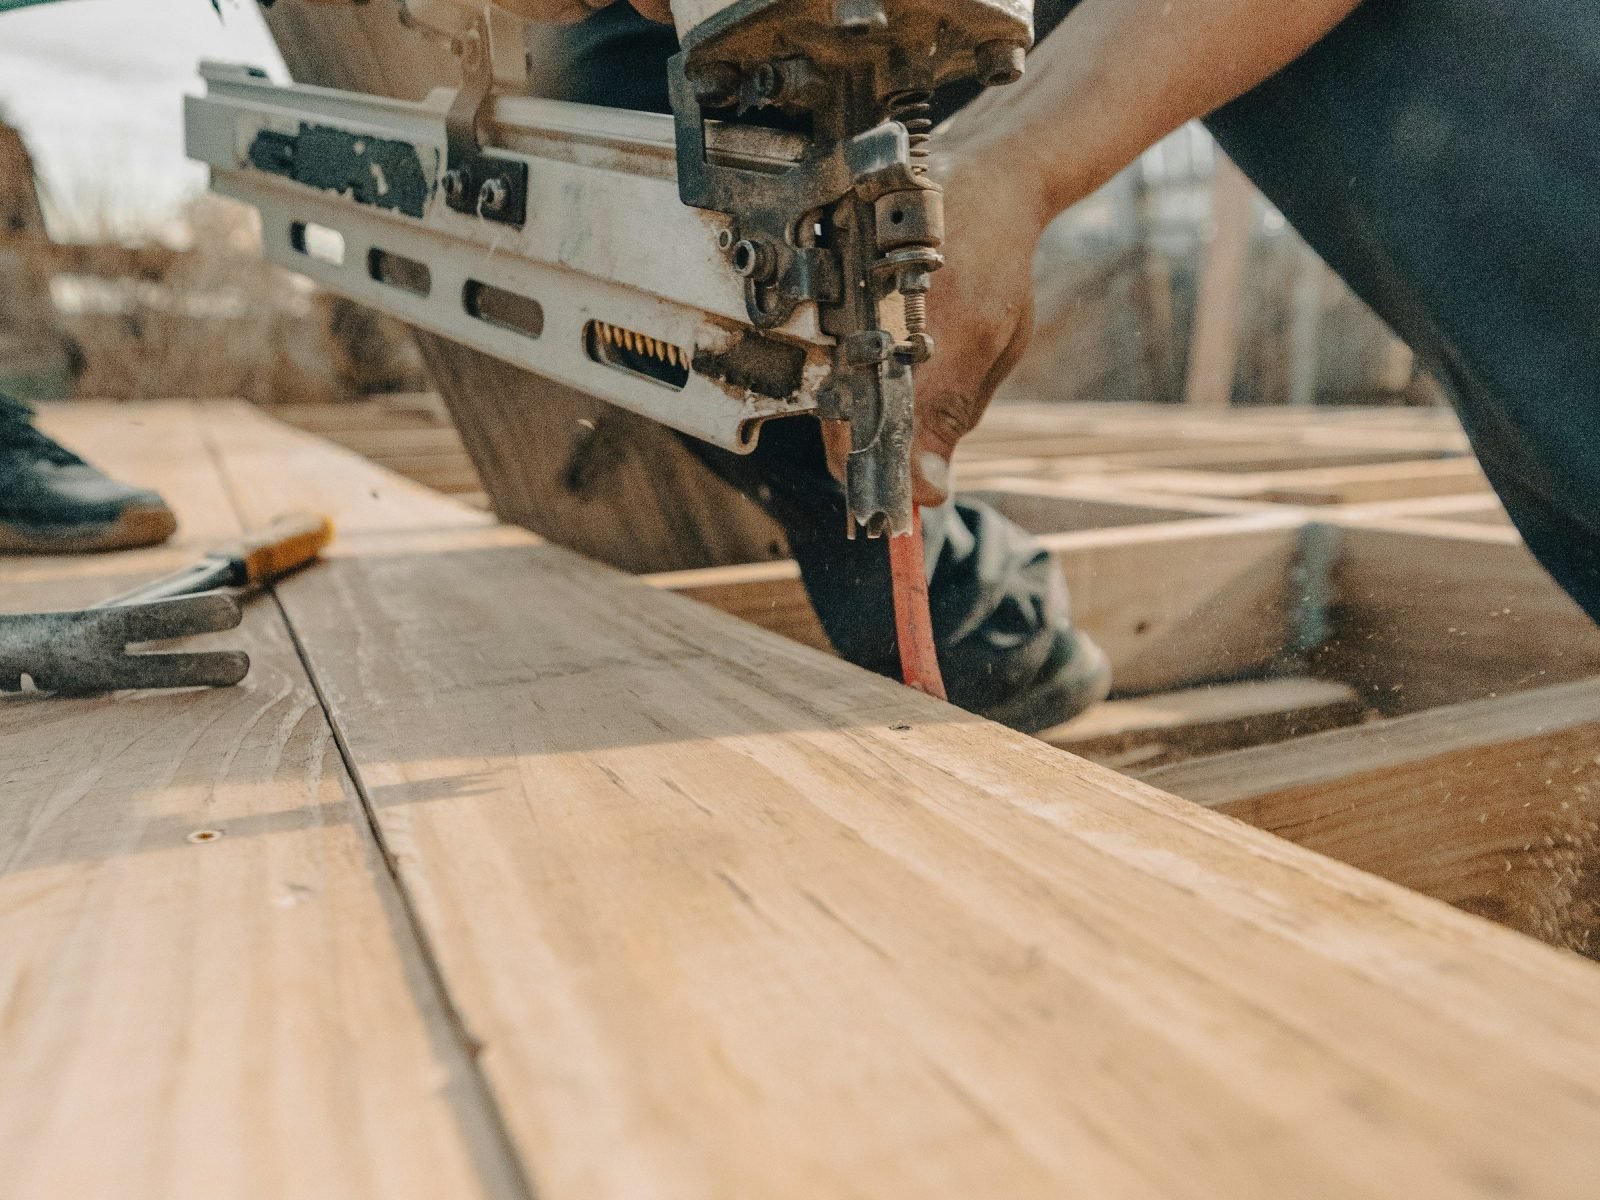
This is where the bar starts to look like furniture. Cover the frame with your chosen outer material. For a rustic look, horizontal shiplap or reclaimed pallet boards work well. For a cleaner, modern look, use vertical cedar boards or exterior-grade plywood finished with stone veneer.
Mitre the boards at the corners for a neat join, or use corner trims to hide the cut edges. With natural timber, leave a small gap, about the thickness of a coin, between boards so they can swell and shrink with the weather.
6. Countertop
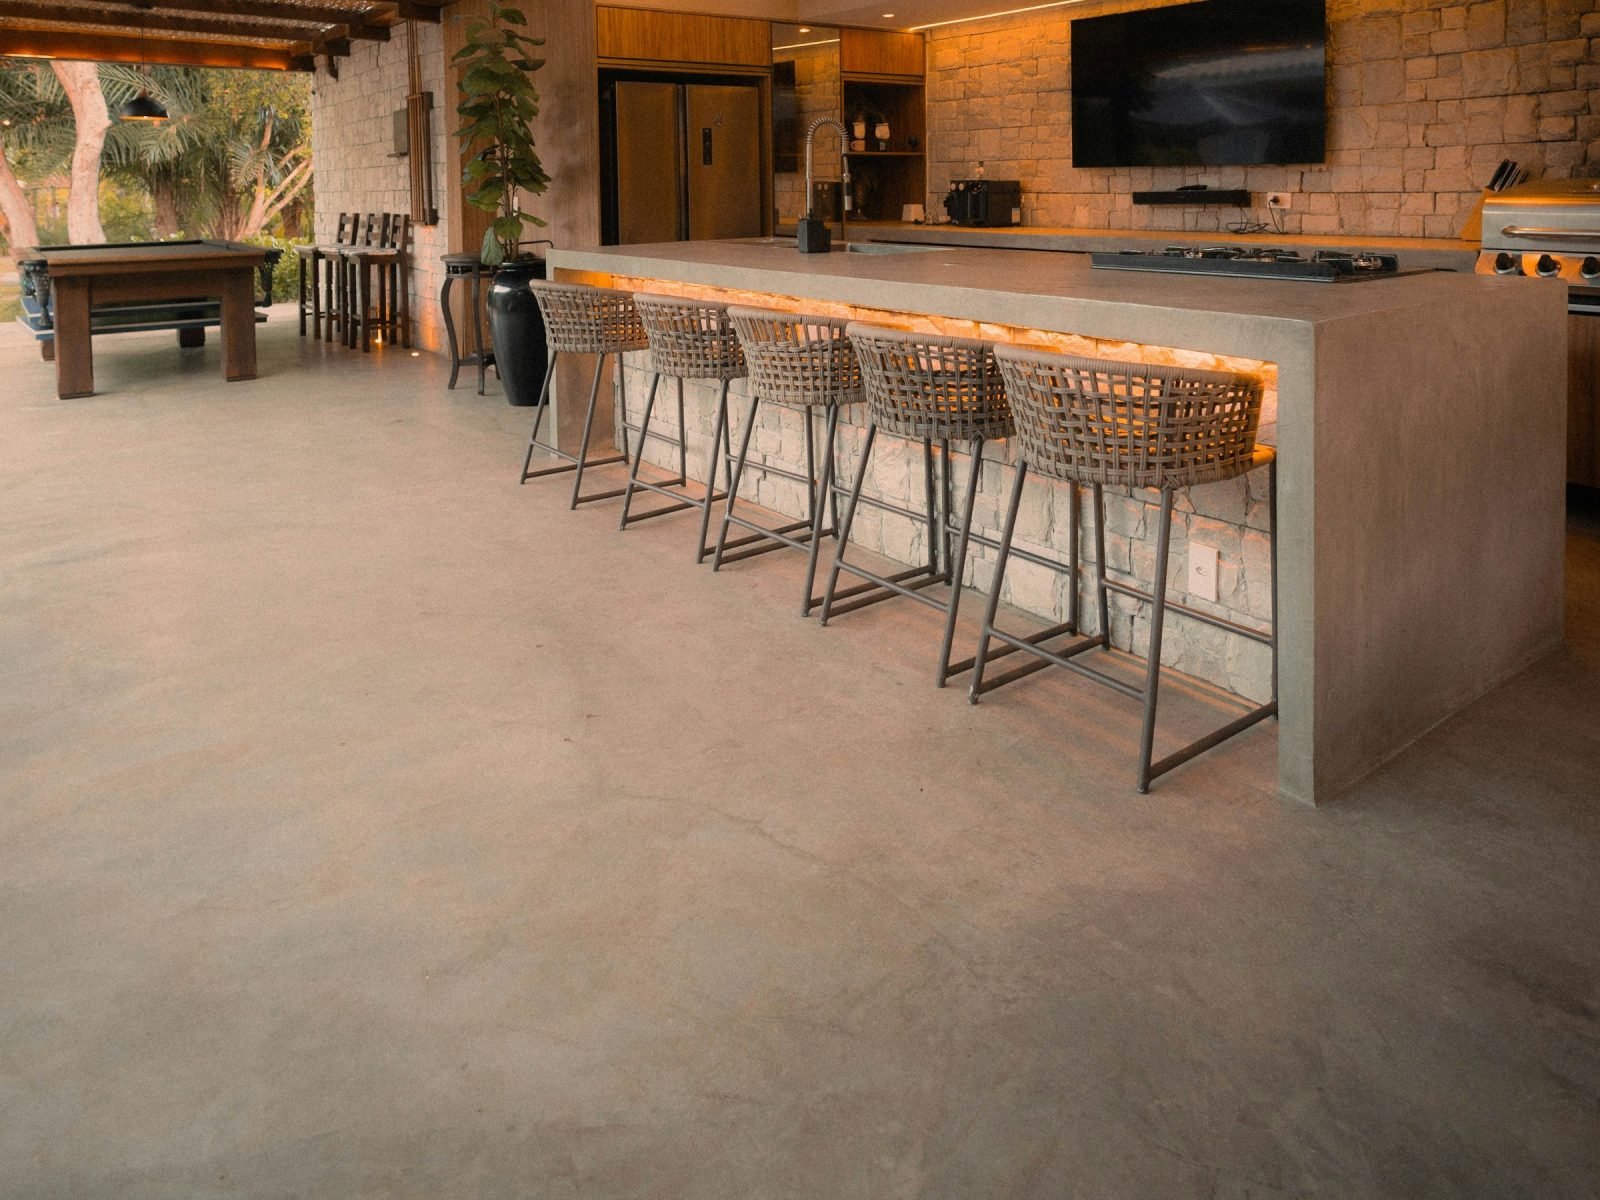
The countertop is the crown of the project, and there are several DIY-friendly options. A thick timber top in cedar or teak looks beautiful but needs regular oiling. A tougher choice is a cast concrete top: build a form on top of the bar, lay reinforcement and pour a high-strength mix, or cast it on the ground and lift it on with helpers once it has cured.
For something simpler, use large-format porcelain tiles on a base of thick exterior plywood covered with cement board, so the grout lines don't crack as the timber moves. Whatever you choose, seal it well so it doesn't soak up red wine or citrus juice. Concrete and natural stone both need a sealer and resealing every year or two.
7. Finishing
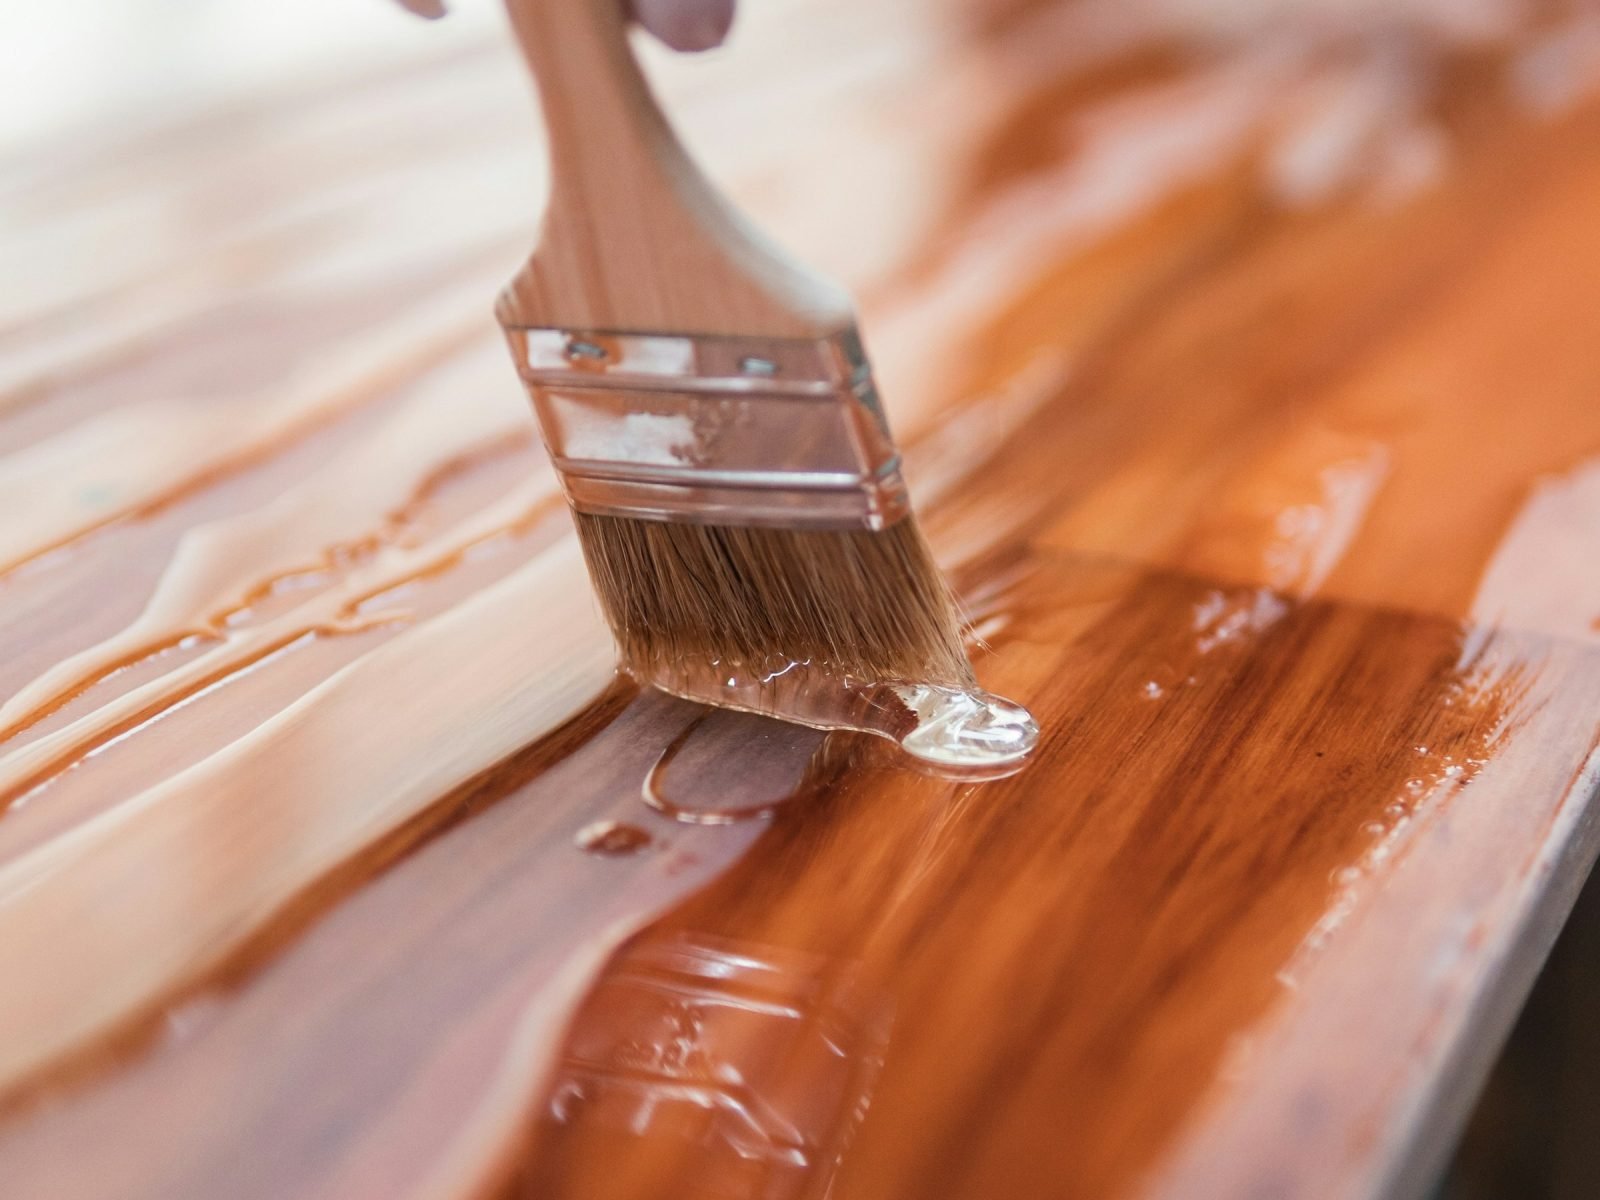
Protection matters. Even rot-resistant cedar turns silver-grey if left untreated. Apply a good UV-resistant exterior stain or oil. To keep the natural colour of the wood, choose a clear exterior finish made for decks or boats.
Pay special attention to the end grain, the cut ends of each board, because that is where water gets in. Apply at least two coats and leave the recommended drying time between them. If you used steel parts that are not stainless, wipe them down and treat them with a rust inhibitor.
8. Lighting
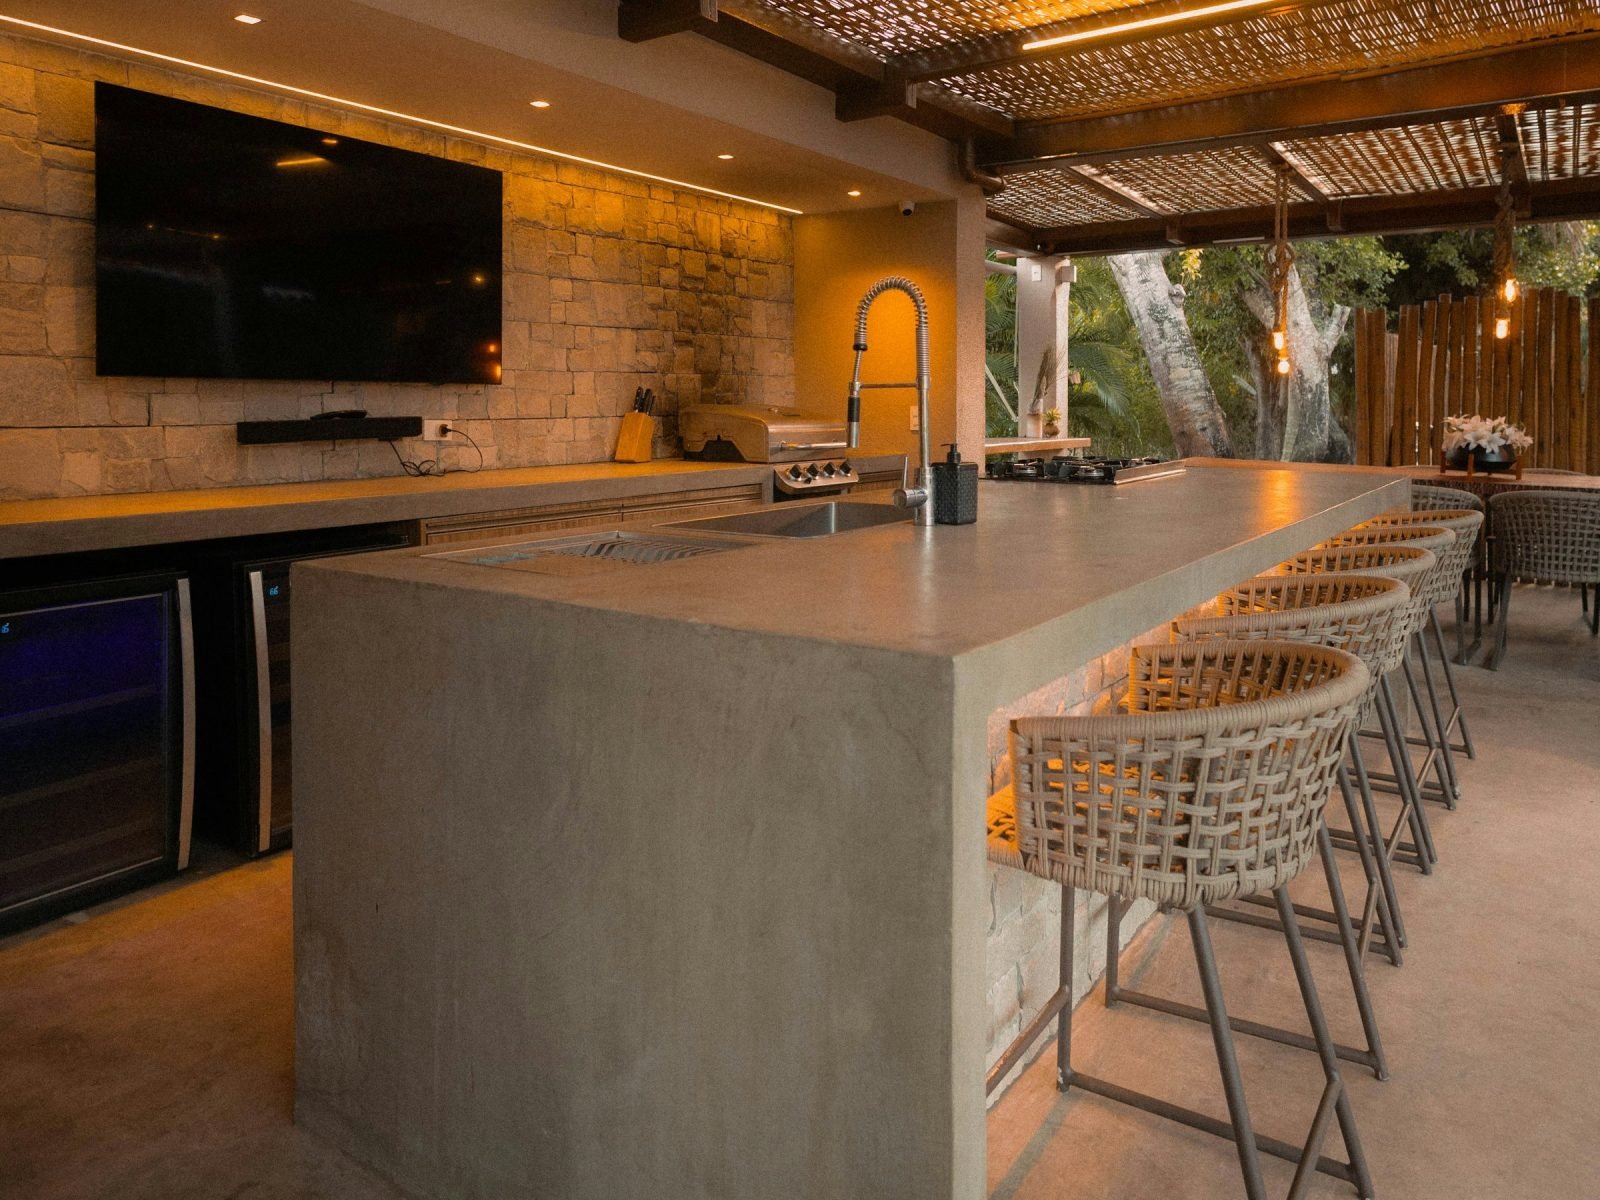
An outdoor bar is only useful while you can see what you are pouring. Lighting adds both safety and atmosphere. Low-voltage LED strip lights tucked under the counter overhang create a floating effect and light the footrest area.
If you have a pergola or roof over the bar, hang vintage-style filament bulbs. For an off-grid option, fit solar post lights to the corners. Use fittings rated for outdoor use (IP65 or higher for anything exposed to rain) and supply mains power through an outdoor socket protected by an RCD (a GFCI in the US). In the UK, new outdoor circuits must be installed or signed off by a qualified electrician.
9. Seating
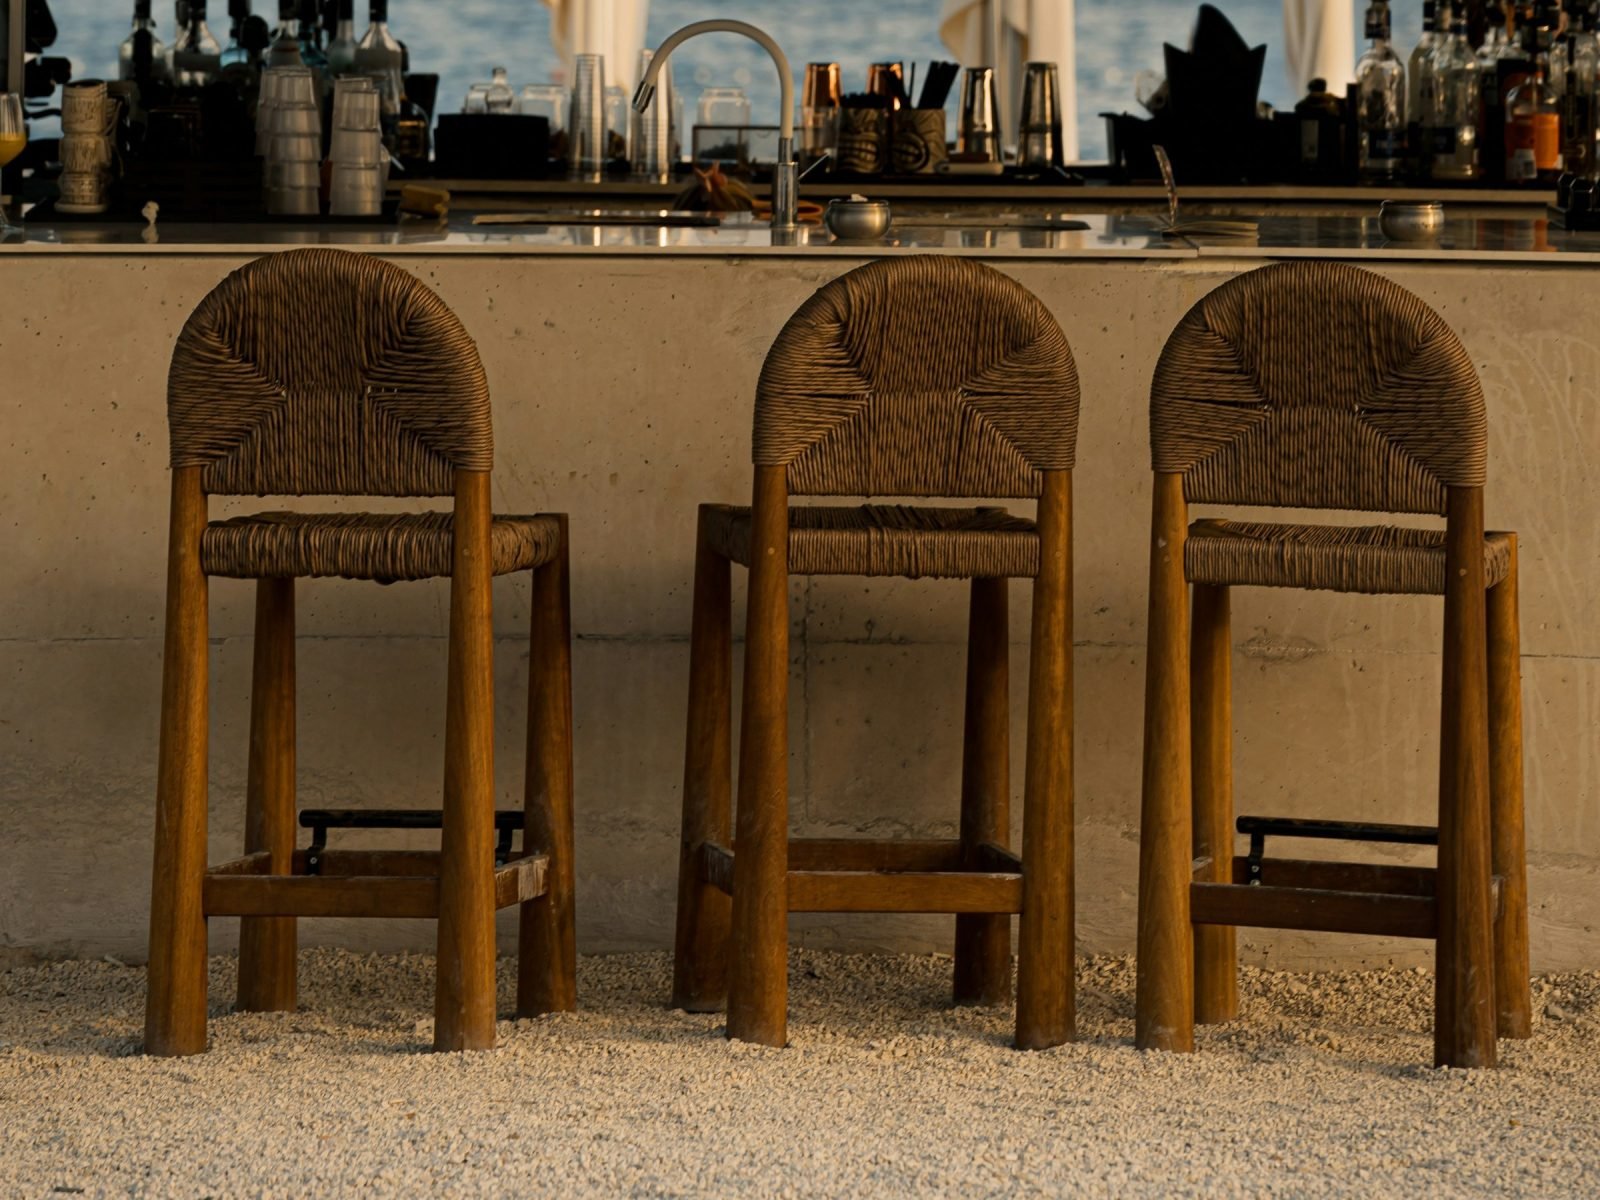
The bar is the stage, but the stools are the seats in the house. Match the stool height to the counter: for a 42-inch bar you need stools about 30 inches (76 cm) high. Allow 24 to 30 inches (60 to 76 cm) of counter for each guest so nobody feels squashed.
Choose materials that dry quickly after rain, such as aluminium, resin wicker or teak. For cushions, solution-dyed acrylic fabric resists fading and can be cleaned with a diluted bleach solution if mildew appears.
10. Maintenance
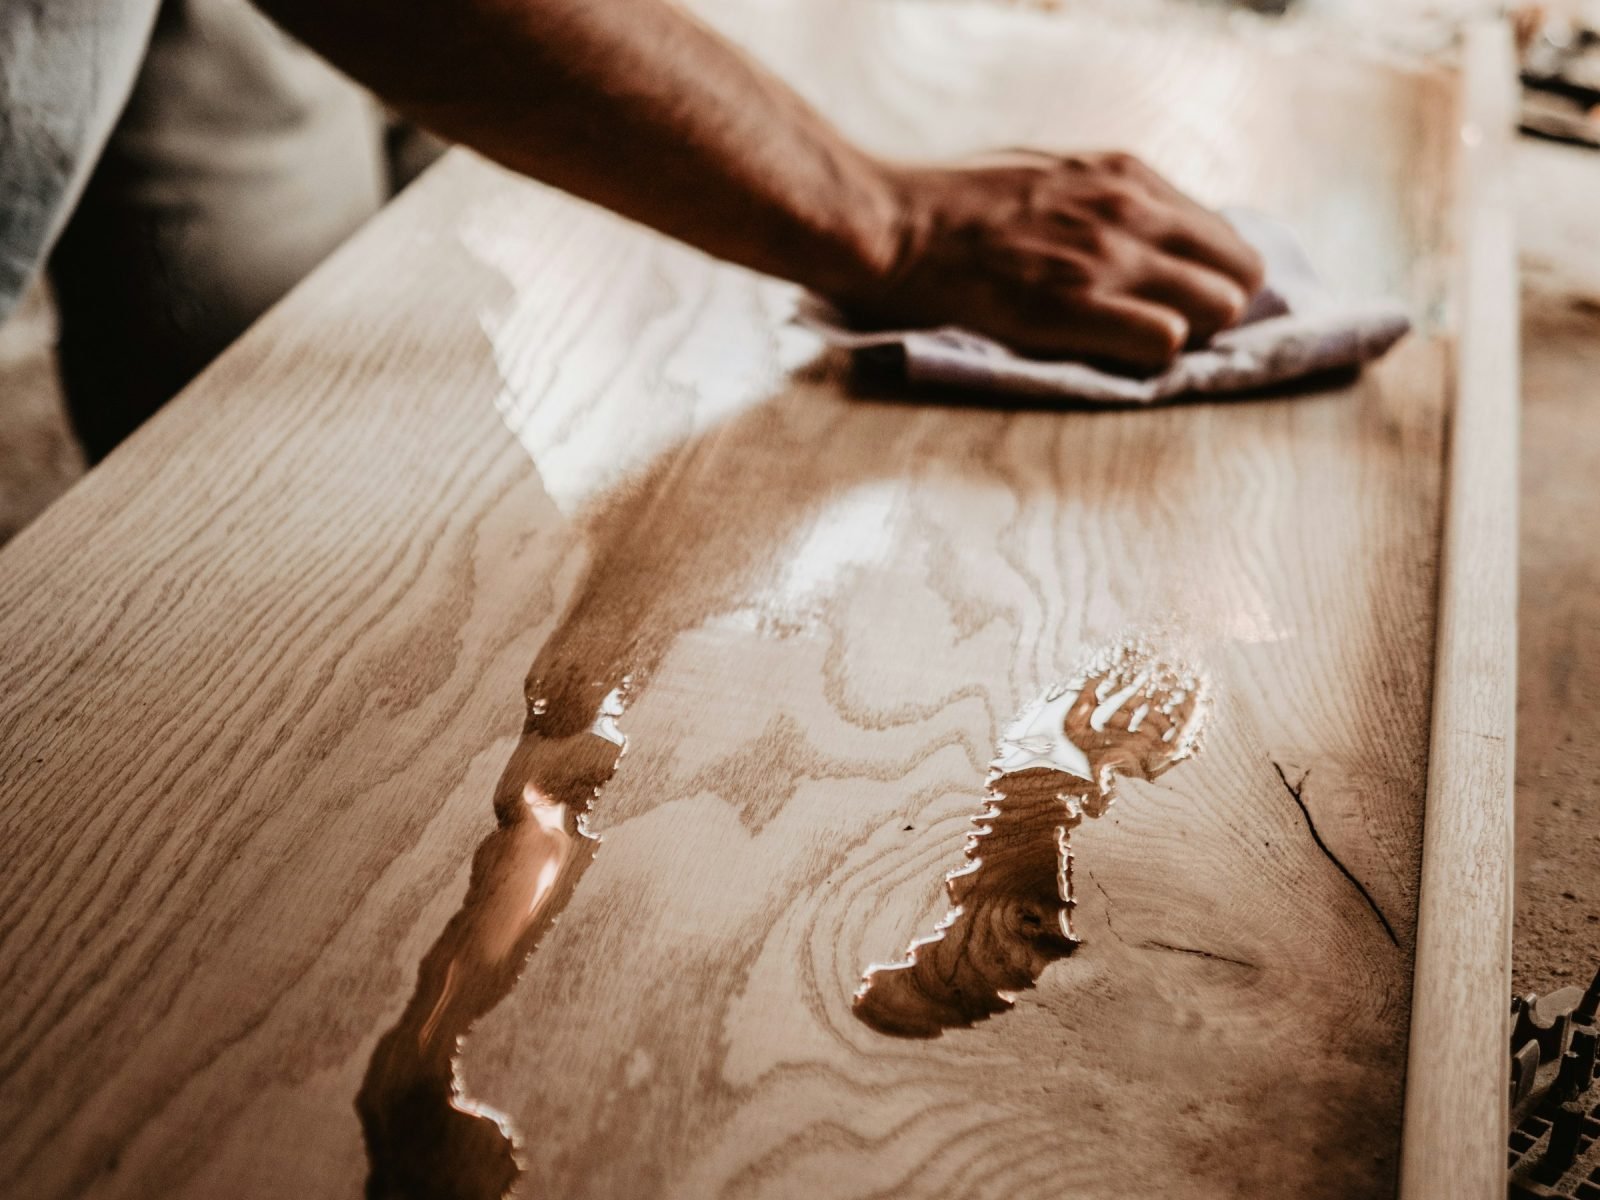
A simple routine keeps your bar looking new. Wipe the countertop after every use to prevent stains. Once a year, look over the timber for peeling finish or soft, rotting spots, and re-coat before the bare wood starts to grey.
The best thing you can buy for your bar is a fitted waterproof cover. Covering it through winter and during stormy spells will add years to its life. If you live where it freezes, drain and winterise any plumbing, such as a sink, so the pipes don't burst.
FAQ
How much does it cost to build a DIY outdoor bar?
A basic timber bar can cost a few hundred dollars or pounds in materials. Premium choices such as a stone or concrete top, cedar cladding, lighting and built-in appliances can take the total into the low thousands.
What is the best height for an outdoor bar?
Standard bar height is 42 inches (about 107 cm), which suits people standing and 30-inch bar stools. Counter height is 36 inches (about 91 cm), better if you will mostly use it for preparing food, with 24 to 26-inch stools.
Do I need permission to build an outdoor bar?
A small freestanding timber bar usually doesn't need planning permission or a permit. If you add a roof structure, fixed electrics or plumbing, or build near a boundary, check with your local council or building department first.
Can I use pallet wood for an outdoor bar?
Yes, with care. Use only pallets stamped HT (heat-treated), never MB (fumigated with methyl bromide). Pallet boards are thin and often uneven, so use them as decorative cladding rather than for the frame or the countertop.
How do I stop the bar blowing over in the wind?
A tall, narrow bar can be top-heavy. Anchor it to the deck with steel angle brackets, or bolt the frame down to the concrete base. Heavy storage shelves low inside the bar also add stability.
Final thoughts
Plan the heights carefully, build on a level base, frame it strongly and protect every surface, and your outdoor bar will be the favourite spot in the garden for years. For more outdoor projects, see how to build an outdoor pizza oven, our seasonal grill island care guide and how to build a patio deck combo. Explore our balcony and terrace decoration service, or book a consultation to plan your outdoor space with a designer.


