Budget Kitchen Makeover Ideas: 10 Ways to Transform Your Kitchen Without a Full Renovation
Ten budget kitchen makeover ideas, from painting cabinets and swapping handles to refreshing the splashback, lighting, worktops, tap, flooring and styling, without a full renovation.
By Admin Published 8 min read

The kitchen is often called the heart of the home, but it is also one of the most expensive rooms to renovate. A full-scale remodel can easily run to a significant sum, involving demolition, plumbing and structural changes. Achieving a fresh, designer look does not have to mean a massive budget or a team of contractors, though. By focusing on high-impact cosmetic changes and well-chosen DIY projects, you can transform your kitchen for a fraction of the cost.
A quick word on safety before you start: anything involving gas, electrics or plumbing beyond a simple like-for-like tap swap should be carried out by a qualified professional. The ideas below are mostly cosmetic, and that is where a budget makeover delivers the most.
1. Cabinet painting
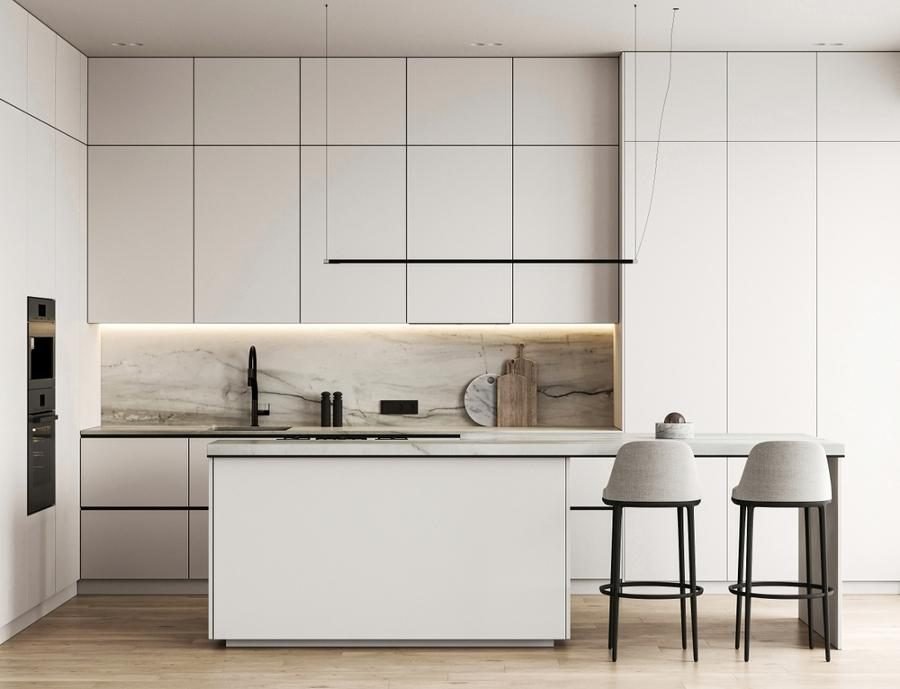
The most dramatic change you can make in a kitchen is altering the colour of the cabinetry. Because cabinets take up most of the visual space, a fresh coat of paint can shift the whole mood of the room.
- Preparation is key: the secret to a professional-looking finish is in the prep. Remove all doors and hardware, clean every surface with a sugar-soap or degreaser solution, and sand lightly so the paint can grip. Check whether your doors are solid wood, MDF, laminate or vinyl-wrapped, as some surfaces need a specialist primer.
- Choosing the right product: use a dedicated cupboard paint or an alkyd-based enamel. These are designed to level out, reducing brush marks, and dry to a hard, durable finish that resists grease and moisture. Follow the manufacturer’s drying and curing times before rehanging doors.
- Colour ideas: white remains a timeless choice for making small kitchens feel larger, but “moody” kitchens are increasingly popular. Consider deep forest green, charcoal grey or navy blue for a sophisticated, high-end feel. Our guide to kitchen cabinet colour combinations has more pairings to try.
2. Hardware upgrades
Often called the “jewellery” of the kitchen, hardware is an easy and affordable way to modernise the space. If your kitchen has dated, 1990s-style brass or plastic handles, swapping them for contemporary designs gives an instant facelift.
- Style selection: matt black hardware offers a modern, industrial look, while brushed brass adds warmth and a touch of luxury.
- Sizing matters: to avoid drilling new holes (and filling and sanding the old ones), measure the centre-to-centre distance between the screw holes on your current handles and buy replacements with the same spacing.
- Mix and match: it is perfectly acceptable to use knobs on wall cupboards and pull handles on drawers. Just keep the same finish throughout for a cohesive look.
3. Splashback refresh
The splashback (or backsplash) is a focal point that ties the worktops and cabinets together. If yours is plain, dated or missing altogether, there are several budget-friendly ways to update it. For a full run-down of materials, see our kitchen splashback ideas.
- Peel-and-stick tiles: modern adhesive tiles made from vinyl or thin stone veneer can look remarkably convincing. They are water-resistant and need no grout or wet saw, which makes them a good weekend project. Keep them away from the area directly behind the hob unless the manufacturer says they are suitable for heat. If you rent, test the adhesive on a hidden spot first and get your landlord’s written permission, as removal can damage paint or plaster and affect your deposit.
- Tile paint: if you already have ceramic tiles but dislike the colour, you can use specialist tile paint. After a deep clean and the correct primer, a gloss tile paint can make tired beige tiles look like fresh white metro tiles.
- Tongue-and-groove or shiplap: for a farmhouse or coastal look, moisture-resistant panelling fixed over an existing splashback is a cost-effective alternative to stone or ceramic. Use a non-combustible material behind the hob.
4. Lighting fixtures
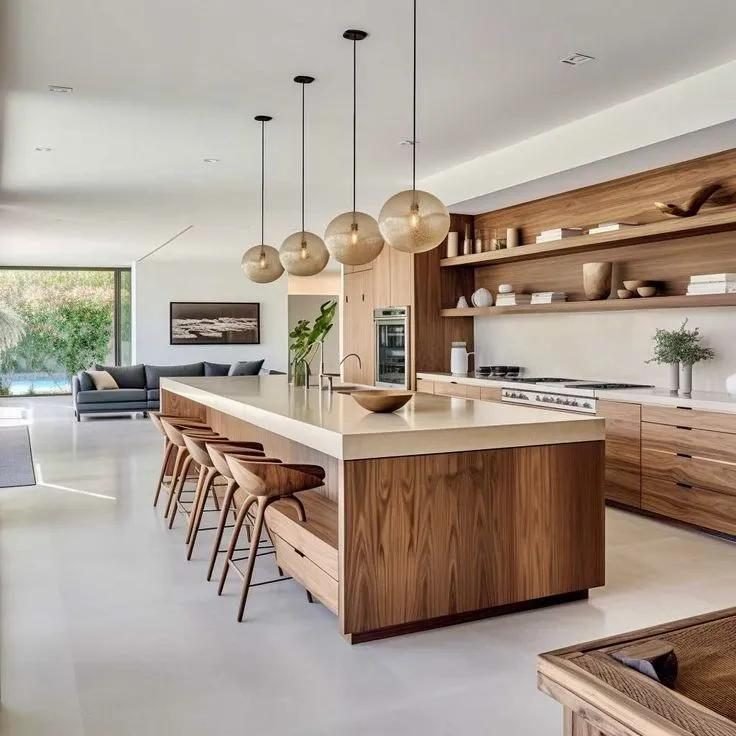
Standard builder-grade lighting can make a kitchen feel flat and uninspired. Upgrading your lighting improves both how the room works and how it feels.
- Pendant lights: if you have an island or breakfast bar, replacing a single ceiling light with a row of pendants adds architectural interest. Have a qualified electrician fit them.
- Under-cabinet LED strips: one of the most useful upgrades you can make. Battery-operated or plug-in LED strips are inexpensive and give excellent task lighting for food preparation, plus a soft glow in the evening.
- Statement fittings: in a dining nook, a statement light, such as a modern sputnik design or a woven rattan shade, can define the zone and act as a piece of art.
5. Worktop refinishing
Replacing worktops is one of the most expensive parts of a renovation, but you can change their appearance without removing them.
- Worktop film: vinyl wraps designed specifically for worktops can mimic the look of Carrara marble or granite. Applied carefully, they are durable and water-resistant, though they will not tolerate hot pans, so always use a trivet.
- Epoxy kits: for a more permanent finish, epoxy resin kits let you coat laminate or old stone to create a seamless, stone-like surface that is very hard-wearing. Check the product’s heat resistance, follow the ventilation instructions closely and still use trivets for hot pans.
- Butcher block: if you only have a short run of worktop, replacing it with a ready-made butcher block worktop can add warmth and natural texture. Oil it regularly and keep it dry around the sink.
6. Taps
The kitchen tap (faucet) is a high-touch item you use many times a day. Upgrading a basic chrome mixer to a high-arc, pull-down model can make the whole sink area feel more luxurious.
- Finishes: coordinate the tap with your new cabinet hardware. Matt black and champagne bronze are popular finishes in modern kitchens.
- Functionality: look for features such as magnetic docking for the spray head and finishes that resist fingerprints and water spots.
- Installation: many modern taps use flexible hoses and a single fixing nut, so a straightforward like-for-like swap can be a manageable DIY job if you are confident turning off the water supply. If you need to move pipework or are unsure, use a qualified plumber.
7. Open shelving
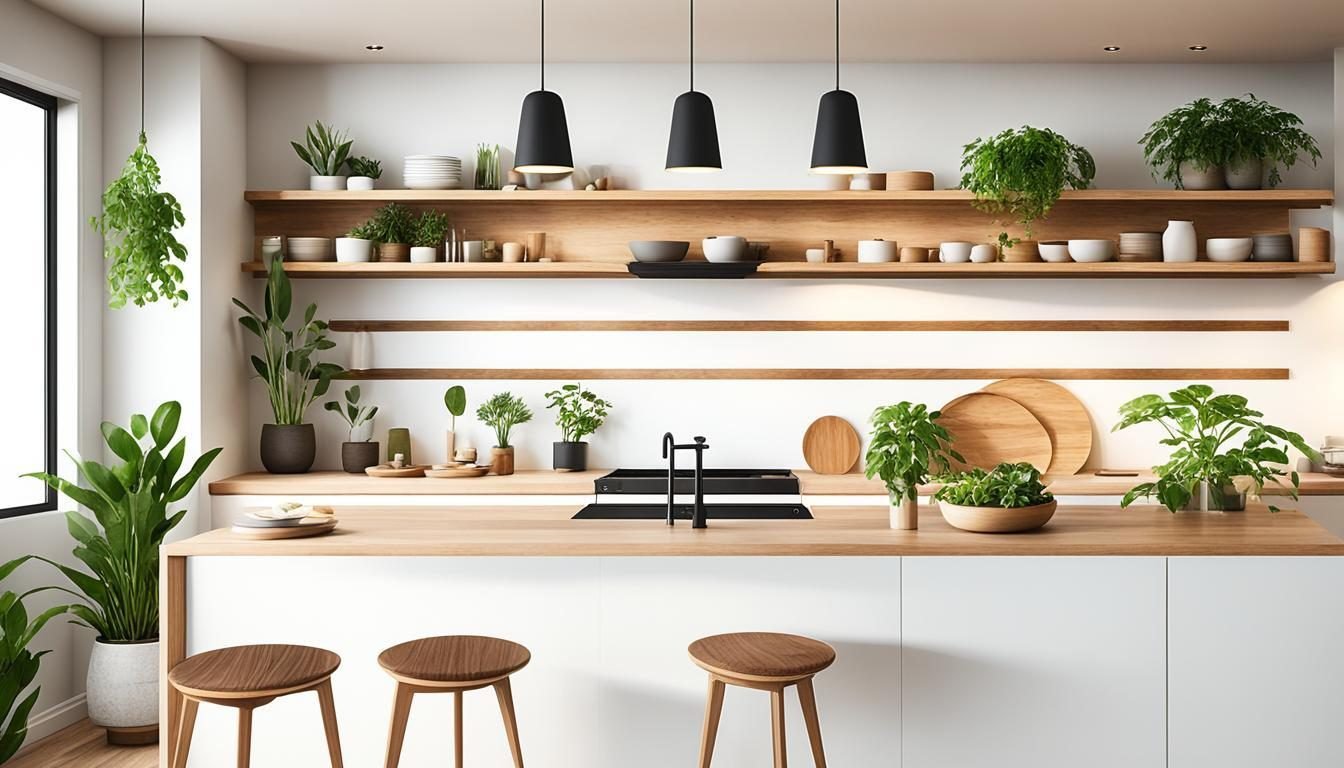
Removing a few wall cupboards and replacing them with open shelving can make a cramped kitchen feel noticeably lighter and more spacious.
- Creating flow: open shelves let you display your favourite dishes and glassware, turning everyday items into decoration.
- Cost-effective: brackets and timber boards cost far less than new cabinet carcasses. Reclaimed wood gives a rustic look; painted MDF feels more contemporary. Fix brackets securely into studs or solid masonry with suitable fixings, and check for hidden pipes and cables before drilling.
- Styling tip: to keep shelves from looking cluttered, stick to a limited colour palette for the items on display.
8. Appliance updates
If your appliances still work well but look dated, for example a mismatched mix of white, black and almond, you don’t necessarily need to replace them.
- Appliance paint: there are spray and brush-on enamels made specifically for appliances, including stainless-steel-effect finishes. Only use them on the surfaces the product is intended for, work in a well-ventilated space, and check the appliance manufacturer’s guidance before painting.
- Vinyl wraps: as with worktops, fridges and dishwashers can be wrapped in vinyl, which is especially effective for hiding scratches or outdated colours. Keep wraps clear of vents and controls.
- Magnetic panels: magnetic stainless-effect panels that attach to the front of older fridges or dishwashers give an instant update.
9. Flooring
If your kitchen floor is stained, cracked or simply unattractive, you can often cover it rather than going through the labour-intensive process of lifting tiles or boards.
- Luxury vinyl plank (LVP): a floating floor that clicks together over many existing floors, provided they are flat and sound. Many ranges are waterproof and convincingly mimic hardwood or stone. Check the manufacturer’s guidance on suitable subfloors and leave the recommended expansion gap.
- Floor stencils: an old lino or wooden floor can be painted and stencilled with a large-scale pattern for an encaustic “cement tile” look. Finished with a heavy-duty floor sealer, it can last well.
- Peel-and-stick vinyl: for a very low-budget fix, good-quality vinyl floor tiles come in striking patterns and are surprisingly durable in busy areas.
10. Styling
The final step in a budget makeover is styling. This is where you add personality and warmth.
- Declutter: the most effective free makeover is clearing the worktops. Only leave out items you use daily and that look good.
- Textiles: add a runner rug in front of the sink for colour and comfort, ideally with a non-slip backing, and replace tired tea towels with new linen ones.
- Natural elements: bring the room to life with a wooden fruit bowl, a potted herb or a vase of greenery.
A kitchen makeover doesn’t have to be all or nothing. Choose three or four of these projects and you can create a space that looks brand new while keeping your savings intact. Consistency in colour and finish is the key to making budget updates look like a cohesive, professional design.
For more inspiration, read our complete guide to kitchen decoration and small kitchen decorating ideas, or explore our kitchen decoration service. To plan your makeover with a designer, book a consultation.


